How To Lace Golf Shoes: Easy Step-By-Step Guide
Golf shoes need a firm, even fit. Good lacing helps your foot stay stable as you walk, rotate, and finish your swing. It can also reduce heel lift, toe pressure, and loose movement inside the shoe.
The best method depends on your foot shape, shoe design, swing, and course conditions. A beginner may need a simple crisscross pattern. A golfer with a narrow heel may prefer a heel-lock finish. A player with a high instep may need less pressure across the middle of the foot.
This guide explains how to lace golf shoes for walking, riding, wet grass, hot weather, and different foot shapes. It also covers common mistakes, junior and senior golfers, left- and right-handed players, practice drills, comfort checks, and when a shoe fit problem needs professional help.

Quick answer: How should you lace golf shoes?
The best way to lace golf shoes is to start with even lace lengths, use a balanced crisscross pattern, and tighten each section from the toe toward the ankle. Keep the forefoot comfortable, secure the midfoot, and use a heel-lock loop if your heel lifts. Finish with a flat, firm knot that does not press into the top of your foot.

A good lace job should feel secure without causing numbness, tingling, pain, or skin pressure. Your toes should have room to move, while your heel should stay in place during a practice swing and a normal walk.
Golf shoe lacing is not a swing cure. It cannot replace proper posture, stance, grip, balance, or golf fitness. It simply helps your foot and shoe work as one unit.
Why golf shoe lacing matters
Proper lacing can improve comfort and foot stability during a round. A golf swing moves pressure from the trail side to the lead side, then into the front of the foot during impact and the follow-through. Loose shoes can make that motion feel less controlled.

Golfers often focus on grip, clubface position, backswing, downswing, and tempo. Those areas matter, but your feet are the base of the movement. If your foot slides inside the shoe, your body may react with extra tension.
A tight shoe can cause a different problem. It may create hot spots, pressure across the instep, or pain near the toes. That discomfort can affect your walking pace, posture, and mental game.
Lacing and swing stability
A golf swing does not require you to lock your feet in place. You need enough freedom to turn your hips and shift pressure. The shoe should support your foot without blocking a natural finish.

For a right-handed golfer, the lead foot is the left foot. For a left-handed golfer, the lead foot is the right foot. The lacing method is the same for both players, but the lead shoe may show more wear because it accepts force during impact and the finish.
A stable shoe can help you feel grounded on a fairway, tee box, or firm links course. It should not force your stance or stop normal foot movement.
Lacing and walking comfort
Many golfers walk several miles during an 18-hole round. The same pair of shoes may face grass, rough, sand, slopes, wet ground, and hard paths. A loose knot can become a distraction long before the final green.

Walking golfers need a lace system that stays secure for hours. Riders still need secure laces because they walk from the cart to the ball, enter bunkers, and move across uneven ground.
Seniors, juniors, and golfers returning from foot or ankle problems may notice lacing issues sooner. Their best setup may use less pressure across the foot and more support near the ankle.
Start with the right setup
The best lacing result begins before you pull the first lace. Put on the socks you normally wear for golf, and lace the shoes at the time of day when you usually play.
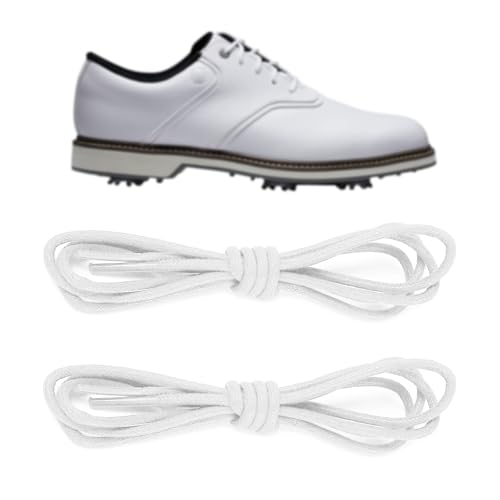
Feet can swell during a long walk, in hot weather, or after several hours of activity. A shoe that feels fine for five minutes may feel tight on the back nine.
Stand on a level floor. Make sure the tongue sits straight and the insole lies flat. Check that there are no folds under the arch or heel.
Choose the right lace tension
Lace tension should change across the shoe. The toe area usually needs light tension. The middle of the foot needs even support. The top eyelets can be firm, but they should not cut into the ankle.

Think of the laces as a set of small support bands, not one long strap. Pulling only the top section tight can leave the forefoot loose. Pulling every section as hard as possible can restrict circulation.
| Foot area | Suggested tension | Main goal |
|---|---|---|
| Toe box | Light | Allow toe movement |
| Midfoot | Medium and even | Limit side-to-side slide |
| Ankle and top eyelets | Firm but comfortable | Reduce heel lift |
Use the table as a starting point, not a fixed rule. Foot shape, shoe material, and personal comfort can change the ideal tension.
Match the lacing to the shoe
Some golf shoes have five pairs of eyelets. Others have six or more. Some use fabric loops, hidden channels, or a separate upper strap. Work with the design instead of forcing a pattern that bends the shoe.

A standard crisscross pattern suits most golfers. A straight-bar pattern can reduce pressure over a sensitive instep. A heel-lock finish can help a narrow heel stay in place.
The laces should pass through each eyelet without twisting. Twisted laces create narrow pressure points and may loosen faster.
Check your socks and tongue
Thick socks can change the fit more than many golfers expect. They may help manage moisture, but they also take up space inside the shoe. Thin socks can create extra room and more movement.

Pull the tongue up before lacing. A tongue that sits to one side can make one part of the foot feel tight while another part feels loose.
If a tongue slides during a round, use the shoe’s tongue loop if it has one. Do not add bulky knots or objects under the tongue.
How to lace golf shoes step by step
A simple crisscross pattern is the best starting point for most golfers. It is easy to learn, works with most eyelet layouts, and allows small changes in tension.
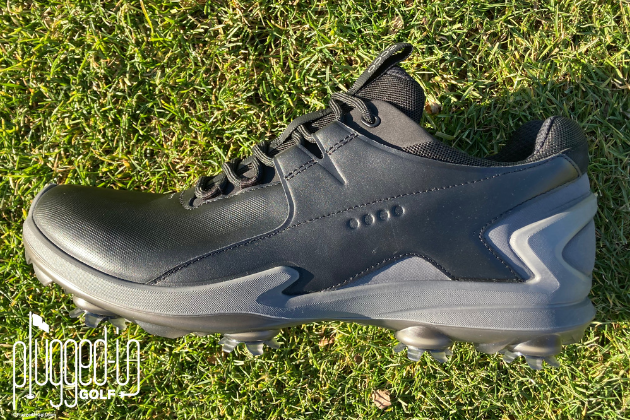
Follow these steps on both shoes. Lace one shoe at a time so you can compare the fit.
1. Inspect the shoe and laces
Check each eyelet, lace, and tongue before you begin. Look for a torn eyelet, a sharp edge, a frayed lace, or a tongue that has folded.

A damaged eyelet can create a pressure point. A frayed lace can break during a round. If the shoe feels uneven before lacing, the problem may not be the lacing method.
Place the shoe on the correct foot. Left and right shoes may have different shapes. Do not try to switch them.
2. Center the lace
Start with the lace running through the lowest pair of eyelets. Pull both ends until they are the same length.
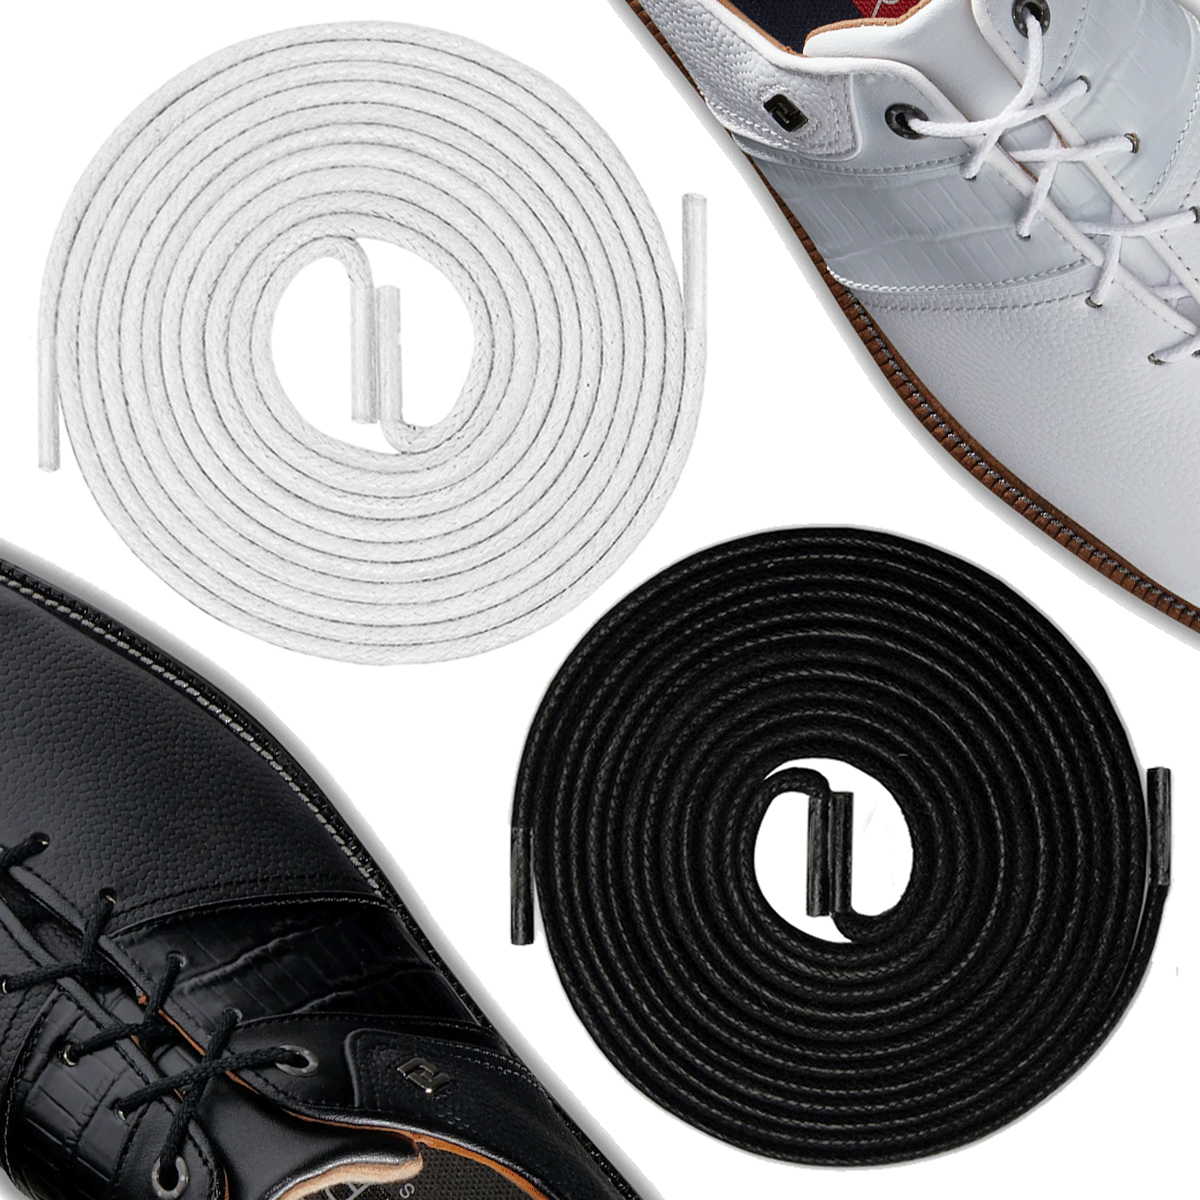
An uneven start creates uneven tension all the way up the shoe. One side may feel tight while the other side remains loose. This is a common cause of a crooked tongue.
For children, check the lace length before tying. Long loops can catch under a foot or wheel. Short, secure loops are safer.
3. Lace the lower eyelets
Take the left lace across to the next eyelet on the right. Take the right lace across to the next eyelet on the left. Continue this crisscross pattern toward the ankle.
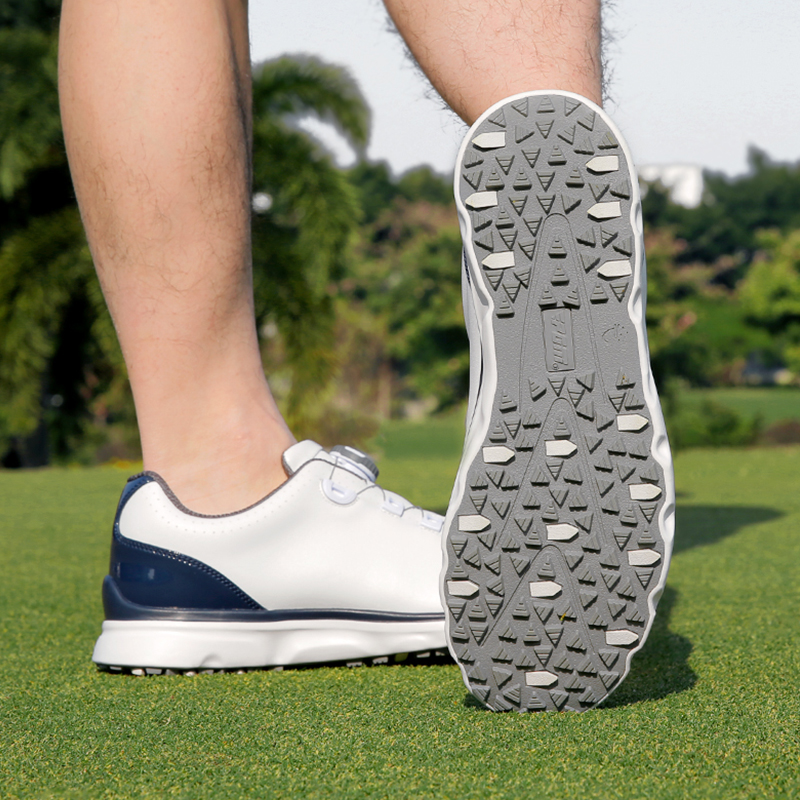
Keep the crossings flat. Pull each section snug, but do not yank the lace tight after every crossing. The goal is even pressure from one eyelet to the next.
| Lacing stage | What to do | What to avoid |
|---|---|---|
| Lowest eyelets | Keep light tension | Pinching the toes |
| Middle eyelets | Pull both sides evenly | Leaving loose gaps |
| Upper eyelets | Use firm, calm tension | Cutting into the ankle |
Pause halfway up and flex your foot. If the shoe feels tight across the instep, loosen the middle sections before continuing.
4. Set the midfoot tension
The middle eyelets control most of the shoe’s hold. Pull from the lowest loose section upward so the lace tension spreads across the foot.

Do not pull only on the lace ends. That may tighten the top while leaving the lower section loose. Instead, adjust each crossing with your fingers.
For golfers with a high instep, leave a little more space across the middle. An instep is the top part of the foot between the toes and ankle. Too much pressure there can cause discomfort during a long round.
5. Secure the upper eyelets
Use the top eyelets if you need more ankle support or if your heel lifts. A normal crisscross finish works well for many golfers.

If your shoe has an extra eyelet near the ankle, you can use it for a heel-lock loop. This method is also called a runner’s knot, though it is useful for walking golf shoes too.
The heel-lock loop should hold the heel down without squeezing the ankle. Walk for a minute before tying the final knot.
6. Make a heel-lock loop
To create a heel lock, lace normally until the second-to-last eyelet. Then place each lace end into the final eyelet on the same side. Leave a small loop on each side.
Cross the lace ends and pass each end through the loop on the opposite side. Pull forward and slightly upward to close the loops. Tie the shoe as usual.
| Heel-lock result | Good sign | Warning sign |
|---|---|---|
| Heel movement | Small natural movement | Heel lifts with each step |
| Ankle pressure | Firm and calm | Numbness or pulsing |
| Walking feel | Smooth and stable | Stiff or blocked motion |
A heel lock is most useful for a narrow heel, a steep walking course, or a golfer who notices heel lift. It may not suit a wide ankle or a sensitive Achilles tendon.
7. Tie a secure final knot
Use a balanced bow with two loops of similar size. Pull the knot firm, then tuck long loops away from the tread.
Do not leave loose loops near cart pedals, bunker edges, or the sole. A double knot can add security for walking, but it may be harder to untie after a long round.
The knot should sit on the tongue, not under the side of the foot. A side knot can create a pressure point.
8. Test the fit
Stand up and take several steps. Then make a slow practice swing and a half-speed swing. Check the lead foot, trail foot, heel, toes, and top of the foot.
Your foot should not slide forward when you stop. Your heel should not pop up during the backswing or downswing. You should still be able to wiggle your toes.
Try a short putting motion, a chipping stance, and a bunker stance if you have access to a safe practice area. A shoe that feels good while standing may feel different when your knees bend and your weight shifts.
9. Recheck after walking
Walk for 10 to 15 minutes before a full round when possible. Stop and retie if the laces loosen or your feet warm up.
A small adjustment early can prevent a painful hot spot later. Do not ignore rubbing that grows worse with each hole.
For a junior golfer, have a parent check the fit after the child walks and swings. Children may not notice or explain foot pressure until it becomes severe.
Lacing methods for different foot shapes
There is no single best lacing pattern for every golfer. The right method depends on where your foot needs room and where it needs support.
Use a simple crisscross pattern first. Change only one section at a time. This makes it easier to learn what helps and what creates pressure.
Wide forefoot
A wide forefoot needs room near the toes and the ball of the foot. The forefoot is the front part of the foot behind the toes.
Use the standard pattern, but keep the lower crossings less tight. You can also skip one lower crossing if the shoe design allows it and the foot remains secure.
Do not solve a tight toe box by tightening the ankle more. That may create pressure above the foot without giving the toes useful space.
Narrow heel
A narrow heel may move up and down inside the shoe. A heel-lock loop can reduce this movement.
Use normal tension over the forefoot. Add the heel lock only at the top. This keeps the toes comfortable while giving the rear of the foot more hold.
If the heel still lifts after careful lacing, the shoe shape may not match your foot. More tension is not always the answer.
High instep
A high instep needs space over the top of the foot. A straight or gap-style lacing method can reduce pressure in that area.
Lace the lower and upper sections as normal, but leave more room across the middle. Use the nearest comfortable eyelet rather than pulling the tongue tightly against the skin.
Pain, tingling, or numbness means the fit needs attention. Stop playing if these signs persist.
Low-volume foot
A low-volume foot has less overall space inside the shoe. This can lead to sliding, wrinkles, or a loose feel.
Use even tension across the middle and a heel-lock finish if needed. Wear the socks you plan to use on the course. Avoid filling extra space with improvised pads unless a foot-care professional advises it.
High arch
A high arch can create pressure in the midfoot. The laces should support the shoe without pressing hard on the arch area.
Try skipping one middle crossing or using a looser middle section. Keep the heel secure with the upper eyelets.
A high arch can also change how your foot accepts load during walking and the golf swing. Persistent arch pain deserves medical advice.
| Foot shape or concern | Lacing change | Best suited to |
|---|---|---|
| Wide forefoot | Looser lower sections | Golfers with toe pressure |
| Narrow heel | Heel-lock finish | Golfers with heel lift |
| High instep | More space in the middle | Golfers with top-of-foot pressure |
| Low-volume foot | Even middle tension | Golfers with internal movement |
| High arch | Looser arch area | Golfers with midfoot pressure |
These methods are starting points. A foot specialist or qualified fitter can help if pain or movement continues.
Lacing golf shoes for course conditions
Weather and course type can change how your shoes feel. Wet grass, firm ground, sand, and steep slopes place different demands on your feet.
A links course may have firm, rolling ground and strong wind. A parkland course may have soft grass, slopes, and wet rough. An executive course may involve less distance but still require frequent walking and balance changes.
Wet grass and morning dew
Wet grass can make each step feel less secure. It can also make the upper of the shoe feel tighter as moisture changes the material.
Use firm, even tension through the midfoot. Check that the heel stays down on a gentle slope before starting the round.
Do not over-tighten wet shoes. Cold, damp feet can become less sensitive, so you may not notice pressure right away.
Hot and humid weather
Heat can cause feet to swell. This may make a normal lacing pattern feel too tight by the back nine.
Begin with moderate tension. Walk during your warm-up and check your toes before teeing off. Loosen the middle section if you feel pressure across the instep.
Drink water and use sun protection. Heat fatigue can affect balance, focus, and pace of play.
Steep or uneven ground
Slopes increase the need for heel control and stable foot placement. They also make it easier for the foot to slide inside the shoe.
Use a heel-lock finish if your heel moves. Keep the forefoot comfortable so you can adjust your stance on uneven ground.
Do not confuse shoe tension with traction. Laces hold your foot inside the shoe. The sole and course conditions affect grip with the ground.
Walking versus riding
Walkers need a knot that stays secure for several hours. Riders may need less overall support, but they still need a stable fit when stepping across rough or sloped ground.
A walking golfer may prefer a heel lock. A rider who has a sensitive ankle may prefer a standard finish with less pressure at the top.
| Playing condition | Useful focus | Why it matters |
|---|---|---|
| Long walking round | Secure knot and heel | Limits repeated movement |
| Wet morning | Even midfoot tension | Supports balance |
| Hot weather | Moderate tension | Leaves room for swelling |
| Steep course | Stable heel hold | Reduces internal slide |
| Cart play | Comfortable top section | Avoids ankle pressure |
The best lacing choice is the one that stays comfortable through the full round, not only on the first tee.
🌿 Course Care Note: Walk around bunkers when practical, repair ball marks, replace divots, and keep broken laces or other litter off the course. Small habits protect turf and help pace of play.
Common golf shoe lacing mistakes
Most lacing problems come from uneven tension, poor knot placement, or trying to fix the wrong problem with tighter laces.
A shoe can feel unstable because it is too large, too wide, worn unevenly, or not suited to your foot. Lacing can help only when the shoe already has a reasonable fit.
Tightening only the top
Many golfers pull the lace ends hard and assume the whole shoe is now secure. In fact, the lower sections may still be loose.
Adjust the laces from the bottom upward. Keep the lower area light, the middle area even, and the upper area firm but calm.
Pulling every section too tight
Maximum tension can cause numb toes, pressure over the instep, and foot fatigue. It may also make your ankle feel stiff during the follow-through.
Your foot needs controlled movement. Golf shoes should support your stance, not act like a cast.
Leaving the tongue crooked
A crooked tongue can create a pressure ridge. It may also cause the laces to cross unevenly.
Center the tongue before each section. Use the tongue loop if the shoe has one. Recheck it after your first few steps.
Using a heel lock on every shoe
A heel lock is useful, but it is not required for all feet. It can create unwanted pressure for golfers with a broad ankle or a sensitive Achilles tendon.
Try standard lacing first. Add the heel lock only if heel movement remains a problem.
Hiding a poor fit with laces
If your toes touch the front, your heel lifts a lot, or the shoe bends in the wrong place, lacing may not solve the issue.
A shoe that causes pain during a short walk is not ready for an 18-hole round. Ask a qualified professional for help if fit problems continue.
| Mistake | Likely result | Better response |
|---|---|---|
| Top-only tightening | Loose forefoot | Adjust from the bottom up |
| Over-tightening | Numbness or pressure | Reduce tension |
| Crooked tongue | Uneven contact | Center the tongue |
| Unneeded heel lock | Ankle pressure | Use standard lacing |
| Poor shoe fit | Repeated pain | Seek professional advice |
Try one change at a time. This makes the cause easier to identify.
A short lacing practice routine
Lacing is a small skill, but a repeatable routine can make it easier. Practice at home before you test a new method on the course.
You do not need a driving range or a full workout. Ten minutes is enough to compare tension, heel movement, and comfort.
Three-minute fit check
Put on your normal golf socks and lace both shoes. Stand still, walk across the room, and flex each ankle.
Check for toe room, heel movement, tongue position, and pressure over the instep. Write down what you feel if you are testing more than one method.
This suits beginners and juniors who are still learning how a secure fit should feel.
Five-swing test
Make five slow practice swings. Start with a narrow stance, then use your normal stance. Notice whether either foot slides inside the shoe.
Do not swing at full speed in a small room. Use a clear practice area and keep other people away from the swing path.
This test suits improving amateurs who want to compare a standard finish with a heel-lock finish.
Ten-minute walk test
Walk on a level surface for 10 minutes. Include a few gentle turns and stops. Avoid uneven ground if you have an injury or balance concern.
Stop if you feel sharp pain, numbness, or tingling. Comfort should improve after a small adjustment, not worsen.
| Golfer level | Practice task | What to learn |
|---|---|---|
| Beginner | Walk and flex | Basic comfort |
| Improving amateur | Add five slow swings | Heel and midfoot control |
| Junior | Walk with adult check | Safe knot and lace length |
| Senior | Walk and test ankle comfort | Pressure and balance |
| Competitive player | Test course-like movement | Consistent repeatability |
The goal is not to create the tightest fit. The goal is to find a repeatable fit that remains comfortable.
Beginner, junior, senior, and competitive tips
Different golfers have different needs. Age, strength, balance, walking habits, and foot shape can matter more than handicap.
A beginner may need a simple method that is easy to repeat. An experienced player may notice small changes during impact or a long walk.
Tips for beginners
Use the standard crisscross pattern first. Learn to center the tongue, balance the lace ends, and check toe room.
Beginners should not change lacing and swing technique on the same day if possible. A new shoe feel can affect stance and balance, so make one change at a time.
If you are learning chipping, pitching, bunker shots, and putting, comfort matters more than a complex lace pattern.
Tips for women golfers
Women may have a narrower heel-to-forefoot shape, but feet vary widely. Do not assume one lacing method fits every woman golfer.
A heel-lock finish can help if the heel moves while the front feels comfortable. If the shoe presses across the instep, reduce middle tension instead.
Women returning after pregnancy, foot changes, or a long break from golf should allow more time for walking comfort. A medical professional can help with persistent pain.
Tips for senior golfers
Senior golfers may value easy adjustment, balance, and reduced pressure. Stiff fingers or reduced hand strength can make tight knots hard to undo.
Use a secure knot that you can untie without force. Check the shoes before walking downhill or across wet grass. A stable heel can support confidence, but excess ankle pressure can limit comfort.
Warm up with gentle ankle circles, calf movements, and easy walking. Do not stretch into pain.
Tips for junior golfers
Children grow quickly, and their foot shape can change. Check the fit often rather than relying on an old lacing pattern.
Junior golfers need short, secure lace loops. Parents should inspect the knot before practice, tournaments, and travel. Make sure the child can walk, squat, and swing without pressure.
Use junior-sized equipment and a safe practice area. Keep the child clear of other golfers’ swing paths.
Tips for competitive golfers
Competitive players may walk in heat, play several rounds, or face strict event conditions. Consistency matters more than novelty.
Use the same lacing sequence during practice and competition. Check tournament policies and local conditions before play. A major change on competition day can create a distraction.
Handicap does not decide how you should lace your shoes. A high-handicap beginner and a low-handicap player may need the same heel-lock method if their feet move in the same way.
Foot comfort, safety, and golf fitness
Lacing supports comfort, but it cannot correct an injury. Foot pain may come from training load, walking volume, poor posture, hard ground, weak muscles, or a medical condition.
Golf fitness can include calf strength, ankle control, hip mobility, balance, and trunk stability. These areas support walking and the golf swing, but they should be trained with a suitable plan.
Warning signs to respect
Stop and check the shoes if you notice sharp pain, numbness, tingling, blisters, swelling, or a change in color. Do not keep tightening the laces to push through pain.
If pain continues, seek advice from a doctor or qualified foot professional. See a PGA professional for swing changes or recurring swing faults, but use a medical professional for injury diagnosis.
Warm up before a round
Begin with five to 10 minutes of easy movement. Walk, move your ankles, rotate your hips, and make slow practice swings.
A warm-up can help you notice whether the shoes feel right before the first tee. It also gives your body time to move from rest to golf speed.
Stay safe in changing weather
Carry water in hot conditions and protect your skin from the sun. Leave the course at the first lightning warning and follow the facility’s safety instructions.
Wet ground can increase slipping risk. Slow down on slopes, use care near cart paths, and never allow loose laces to hang near cart pedals or wheels.
⚠️ Safety Warning: Do not play through persistent foot pain, loss of feeling, or a suspected injury. Stop, remove the shoe, and seek medical guidance when needed.
Rules and etiquette related to golf shoes
Golf shoe lacing itself is not a scoring rule. However, your shoes must be safe, suitable for the facility, and allowed by the event or course policy.
The Rules of Golf cover clubs, balls, equipment, and playing conditions. They do not tell most golfers which normal lace pattern to use. A tournament committee or club may set additional policies about footwear.
Check the latest Rules of Golf and your local committee for updates. This is especially important in organized competitions, junior events, and events held at private clubs.
Spikes, traction, and the course
Some courses control the type of shoe sole allowed. Course staff may also ask golfers to avoid damage to greens and sensitive turf.
Follow posted signs and staff instructions. Do not drag your feet on the putting green. Walk carefully around the hole and avoid unnecessary damage.
Pace of play
A loose lace can slow a group. Retie before you reach the first tee or during a safe pause, not while your group is waiting on a green.
Keep pace with the group ahead. If you need to stop for a longer adjustment, let your playing partners know and stay aware of golfers nearby.
📜 Check the Rules: For tournaments, confirm current footwear rules, local rules, and club policies with the committee. Normal lacing is usually a comfort matter, but event conditions can vary.
How to know when lacing is not the real problem
Lacing is probably not the main issue when pain or movement remains after careful adjustment. The shoe may be too short, too wide, too narrow, or worn unevenly.
A simple test is to compare both feet. Most people have small differences between the left and right foot. A method that feels good on one side may need a small adjustment on the other.
Signs of a shoe-fit problem
Watch for repeated symptoms during short walks and swings. These signs suggest that the shoe shape may not match your foot.
Common signs include:
- Toes touching the front when walking downhill
- Heel lift after using a heel-lock loop
- Pressure over one eyelet
- Blisters in the same place
- A bent tongue that will not stay centered
- Pain that returns every round
- Numbness that lasts after removing the shoe
Do not ignore a repeated problem because the shoe looks fine. Comfort and function matter more than appearance.
When to see a PGA professional
A PGA professional can help if your lacing issue connects to stance, balance, or swing movement. For example, a player may mistake foot sliding for a grip or posture fault.
A teaching professional can watch your stance, backswing, downswing, impact, and follow-through. They can also suggest a safer practice plan for a new golfer, senior, or junior.
See a doctor or foot professional for pain, swelling, numbness, or injury. These problems need medical assessment, not a tighter knot.
Frequently asked questions
Q: Should golf shoes be laced tight or loose?
A: Golf shoes should feel secure but not tight. Keep light tension near the toes, even tension through the midfoot, and firm but comfortable tension near the ankle. You should be able to wiggle your toes and walk without heel lift.
Q: What is the best way to lace golf shoes for beginners?
A: Use a standard crisscross pattern. Start with equal lace lengths, keep the tongue centered, tighten each section from the bottom upward, and finish with a balanced bow. This method is easy to learn and adjust.
Q: How do I stop my heel from slipping in golf shoes?
A: Try a heel-lock loop through the top eyelets. Keep the lower and middle sections comfortable, then secure the upper section. If the heel still slips, the shoe shape may not suit your foot.
Q: How do I lace golf shoes for a high instep?
A: Leave more space across the middle of the shoe. Use less tension over the instep and secure the foot near the ankle. Stop if you feel numbness, tingling, or strong pressure.
Q: How do I lace golf shoes for wide feet?
A: Keep the lower sections relaxed and avoid pulling the laces tightly across the forefoot. Use the upper eyelets for support. If your toes remain crowded, lacing may not fix the shoe’s shape.
Q: Should left-handed golfers lace golf shoes differently?
A: No. Left- and right-handed golfers can use the same lacing patterns. The main difference is which foot acts as the lead foot during the swing. Both shoes should feel balanced and secure.
Q: Do seniors need a different way to lace golf shoes?
A: Some seniors benefit from a simple knot, moderate tension, and a heel-lock finish if the heel moves. The method should support balance without creating ankle pressure. Persistent foot pain needs medical advice.
Q: How should parents lace golf shoes for junior golfers?
A: Use a simple pattern with short, secure loops. Check the fit while the child walks, bends, and swings. Recheck often because children’s feet can change quickly.
Q: Can lacing golf shoes improve my swing?
A: Good lacing can help your feet feel stable and comfortable. It cannot replace work on grip, stance, posture, tempo, impact, or follow-through. A PGA professional can help with swing mechanics.
Q: Should I use a heel lock for every round?
A: No. Use it when your heel lifts or your foot moves inside the shoe. It may not suit golfers with a sensitive Achilles tendon, broad ankle, or pressure near the top of the foot.
Q: How long does it take to learn how to lace golf shoes?
A: Most golfers can learn a basic crisscross pattern in a few minutes. Finding the best tension may take several walks and practice swings. Change one part at a time so you can feel the result.
Q: Can wet weather change how I should lace golf shoes?
A: Yes. Wet grass and damp feet can affect balance and comfort. Use even midfoot tension, check the heel on slopes, and avoid over-tightening because cold or wet feet may not notice pressure quickly.
Q: Are golf shoe laces covered by the Rules of Golf?
A: Normal lacing is not usually a scoring issue. Footwear must still follow course and event policies. Check the current Rules of Golf, local rules, and committee instructions for organized play.
Q: What knot is best for golf shoes?
A: Use a firm, balanced bow with short loops. A double knot can add security for walking, but it should remain easy to untie. Keep the knot on the tongue and away from the sole.
Q: Why do my golf shoes hurt after nine holes?
A: Heat, foot swelling, uneven tension, poor fit, long walking, and worn cushioning can all contribute. Retie with less midfoot pressure and check the fit. If pain continues, seek professional medical advice.
Q: Should I lace golf shoes differently for putting or chipping?
A: Usually, no. Use one secure setup for the round. Putting and chipping need balance and feel, but constantly changing the laces can create distractions and uneven support.
Final thoughts
The best way to lace golf shoes is to create steady support without squeezing the foot. Start with a balanced crisscross pattern, adjust tension from the toes to the ankle, and use a heel lock only when heel movement is a real problem.
Test the lacing with walking, a slow practice swing, and normal golf stances. Beginners should keep the method simple. Seniors may need gentle tension and easy knots. Juniors need short loops and frequent fit checks. Improving golfers can test small changes without changing several parts of the setup at once.
Comfort is part of good golf preparation. A secure shoe can help you walk with confidence, protect your focus, and stay ready for every tee box, fairway, bunker, and green. If pain remains, do not tighten harder. Find the real cause and seek qualified help.