How To Customize Your Golf Bag: Top Tips For Style
Personalize pockets, straps, and colors to match function and style in a few simple steps.
I’ve spent years tuning gear for better play and comfort, and learning how to customize your golf bag can transform how you carry, organize, and express yourself on the course. This guide explains clear, practical steps—from planning layout and adding tech pockets to swapping straps and adding personal touches—so you can customize your golf bag for comfort, durability, and personality without wasting money or time. Read on to get expert tips, real mistakes I’ve made, and step-by-step actions you can use today.

Why customize your golf bag?
Customizing your golf bag improves comfort, efficiency, and style. It reduces time hunting for clubs, protects expensive gear, and makes your bag feel like an extension of your game. I’ve found small changes like a padded strap or a lined valuables pocket cut rounds by minutes and saved clubs from dings.
Benefits of customizing your golf bag:
- Faster club access and better organization.
- Less fatigue with ergonomic straps and weight distribution.
- Enhanced protection with lining, rain hoods, and molded club dividers.
- Personal expression through colors, patches, and monograms.
- Tech readiness via phone pockets, rangefinder slots, and cable routing.
Common reasons to customize:
- You carry too many items and need tailored storage.
- The bag is uncomfortable on long walks.
- You want to protect expensive clubs and electronics.
- You want a bag that reflects personal style.
Plan before you modify: assessment and goals
Start by assessing the bag and your needs. Measure, list frustrations, and set clear goals. This makes sure every change helps performance or comfort.
Steps to plan:
- Inventory current pockets and features. Note what’s missing.
- Decide core goals: comfort, protection, storage, or appearance.
- Sketch a layout or make a checklist of mods.
- Set a budget and timeline for DIY vs professional work.
Personal note: I once added too many pockets and ended up with clutter. Now I limit changes to three clear improvements per project to keep the bag tidy and functional.

Essential tools and materials
Having the right tools avoids mistakes. Keep it simple and shop quality materials to last.
Basic tools and materials:
- Needle and heavy-duty thread for canvas repairs.
- Sewing awl for adding leather patches or straps.
- Replacement zippers and zipper pulls.
- Velcro strips and adhesive-backed loops for modular storage.
- Foam padding, EVA inserts, or small pool noodles for added protection.
- Weatherproof fabric patches or seam sealant for waterproofing.
- Name tag, embroidery patch, or heat-transfer vinyl for personalization.
Tip: Choose marine-grade thread and YKK zippers for durability. I replaced flimsy zippers once and it saved my bag from early retirement.

Layout and organization upgrades
Good organization reduces time searching and improves tempo. Focus on zones: clubs, apparel, valuables, and accessories.
Organization ideas:
- Assign one pocket for valuables with soft lining to protect phone and glasses.
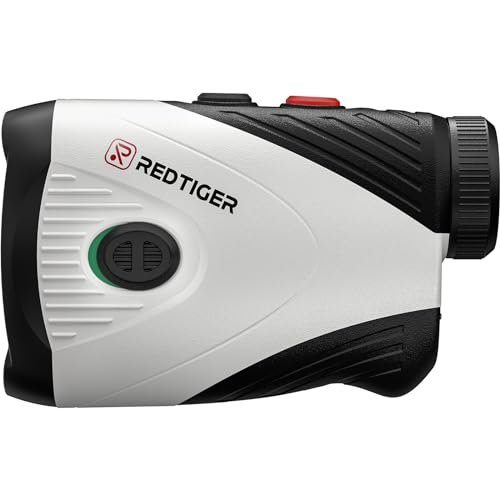
- Use a dedicated rangefinder pocket near the top for quick access.
- Add removable pouches with Velcro for tees, ball markers, and snacks.
- Install a dedicated umbrella sling that’s easy to reach without opening main pockets.
- Use color-coded headcovers or labels for quick club ID.
DIY steps:
- Empty the bag and clean inside pockets.
- Attach Velcro strips where removable pouches should go.
- Sew or adhesive-mount a soft-lined pouch in the valuables zone.
- Test the flow during a practice session and adjust positions.

Comfort and carrying improvements
How your bag sits on your shoulders matters. Small tweaks can drastically reduce fatigue.
Comfort mods:
- Replace or add thicker foam padding to shoulder straps.
- Add a sternum strap or waist clip for better weight distribution.
- Swap to a dual-strap system or adjust strap length and angle.
- Add a lightweight stand bracket or replace worn legs to keep balance.
Personal experience: Switching from a single to a dual strap halved shoulder soreness on 18-hole walks. Also, repositioning straps slightly outward improved balance.

Protective upgrades for clubs and gear
Protecting clubs and electronics prolongs equipment life. Focus on liners, dividers, and waterproofing.
Protection ideas:
- Add full-length dividers or foam tube inserts to stop club tangling.
- Line delicate pockets with microfleece or neoprene for optics and phones.
- Apply seam sealer or add a rain hood for waterproofing.
- Use thick headcovers and shaft protectors for drivers and putters.
Quick DIY: Cut pool noodle segments and glue into top dividers for cheap, effective shaft protection.

Style, branding, and personalization
Style is personal. From bold colors to subtle monograms, make choices that reflect you.
Style options:
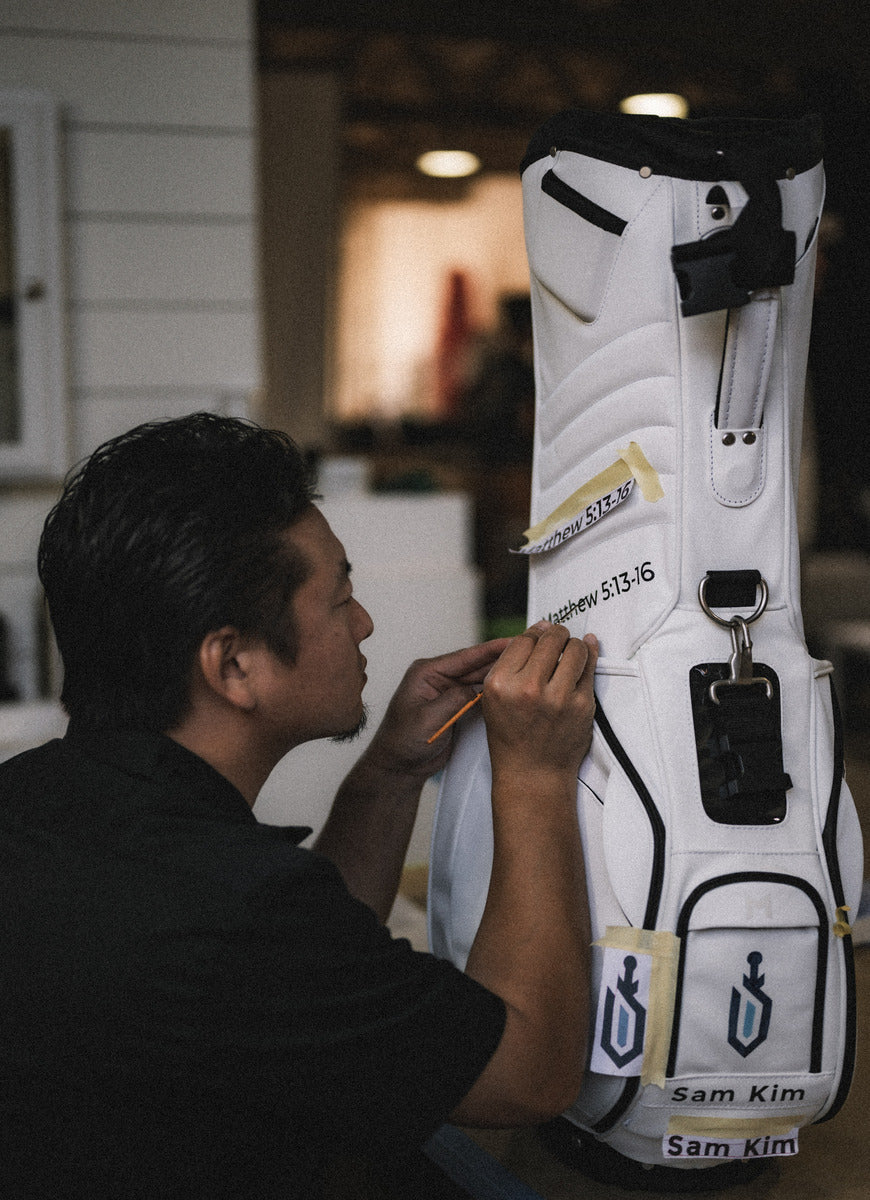
- Embroider your name, initials, or logo on the bag.
- Use heat-transfer patches or iron-on vinyl for quick graphics.
- Swap zipper pulls for custom metal or leather tags.
- Add Velcro patch areas for removable flair like national flags or brand badges.
- Coordinate headcovers, towels, and glove colors to match the bag.
Note on branding: Keep modifications reversible if you plan to resell or return the bag to stock look.

Tech and practical add-ons
Modern golfers carry gadgets. Plan for power, protection, and cable routing.
Tech add-ons:
- Add a power-bank pocket with cable pass-through.
- Install a small solar charger pouch for long rounds or travel.
- Create a padded slot for rangefinder and spare battery.
- Add a lined sunglass pocket with a magnetic closure for easy access.
Pro tip: Run cables along strap seams and secure with fabric clips to avoid snags.
Budgeting: DIY vs professional customization
Decide what you can reasonably do yourself and when to seek pros.
When to DIY:
- Adding Velcro pockets, padding, or cable clips.
- Sewing small patches or replacing zipper pulls.
When to use a professional:
- Major structural changes, like adding rigid dividers.
- Full waterproofing or re-stitching critical seams.
- Custom leather work or complex embroidery for a polished look.
Cost guide:
- Small DIY mods: $10–$50.
- Mid-range upgrades: $50–$150 (better zippers, rain hoods, pro sewing).
- High-end/custom work: $150–$500+ for custom leather, full rework, or branded embroidery.
Maintenance and long-term care
Keep your customized bag performing well with basic upkeep.
Easy maintenance tasks:
- Clean pockets and brush off tee grit after each round.
- Re-seal seams yearly if in wet climates.
- Check zippers and replace worn pulls before they fail.
- Store bag indoors and avoid prolonged sun exposure to prevent fading.
From experience: Quick weekly checks save costly repairs down the road.
Mistakes to avoid and practical tips
Avoid common pitfalls that waste time and money.
Mistakes to avoid:
- Adding too many pockets that cause clutter.
- Using weak adhesives on load-bearing areas.
- Over-customizing without testing ergonomics in real play.
- Ignoring waterproofing on electronics pockets.
Practical tips:
- Test one change at a time and play a round to evaluate.
- Keep key pockets near the front for right/left-handed access.
- Use modular solutions (Velcro pouches) for flexibility.
- Take photos of original layout before major changes.
My personal customization checklist
A short checklist to run through before you start.
Step-by-step checklist:
- Define top three goals for how to customize your golf bag.
- Inventory materials and tools.
- Make simple, reversible changes first.
- Test changes during practice rounds.
- Plan more permanent modifications only after testing.
This process kept my bag functional and helped me avoid costly mistakes.
Frequently Asked Questions of how to customize your golf bag
What is the easiest way to customize my golf bag?
Start with removable Velcro pouches and a soft-lined valuables pocket. These are cheap, reversible, and immediately useful.
Can I add padding to my shoulder straps myself?
Yes, you can add foam or neoprene padding using a sewing awl or adhesive-backed padding for a quick comfort upgrade.
How do I waterproof pockets for electronics?
Use seam sealer on stitched areas and choose water-resistant zippers or add a removable rain hood to protect electronics.
Is it worth getting professional customization for my bag?
Professional customization is worth it for structural changes or premium materials; DIY works for simple mods like pockets and patches.
How can I label clubs for faster access?
Use color-coded headcovers, adhesive labels inside the bag top, or a small numbered tag system to speed up club selection.
Will customizing my golf bag void warranties?
Major structural changes may affect warranties; check the manufacturer’s policy before altering seams, frames, or original hardware.
What are common mistakes to avoid when customizing?
Avoid over-cluttering, using weak adhesives on load-bearing parts, and making irreversible changes before testing ergonomics.
Conclusion
Customizing your golf bag is a practical way to boost comfort, organization, and style. Start with clear goals, make small reversible changes, and test each upgrade on the course. You’ll save time, protect your gear, and enjoy a bag that feels built for you. Try one simple upgrade this week—add a lined valuables pocket, swap a strap, or attach a Velcro pouch—and see how it improves your round. If you found this helpful, leave a comment, share your custom ideas, or subscribe for more gear tips and step-by-step guides.