How To Mark A Golf Ball For Putting: Simple Pro Tips
Mark the ball with a clear alignment line that points your putter face to the target.
I’ve spent years on greens testing marks, lines, and dots to shave strokes off my score. This guide on how to mark a golf ball for putting walks you through simple, proven methods, the tools to use, and practice drills that build real skill. You’ll learn why marking matters, step-by-step marking systems, common mistakes to avoid, and how to use marked balls to trust your aim and putter face. Read on for friendly, practical advice from on-course experience and coaching tips to help your putting feel and perform better.
Why mark a golf ball for putting
Marking a ball helps you see your aim. Many miss short putts because they don’t align the ball with their putter face. When you mark the ball, you create a visual link from ball to line to hole. This builds confidence. It also makes it easier to repeat the same set-up and stroke.
Marking is for beginners and good players. Tour pros mark balls for alignment and to indicate a specific orientation. A good mark reduces guesswork. It helps you read the break and aim the putter face square.
Tools and materials for marking
Choose tools that last and stay legal. Keep marks simple and durable.
- Fine-tip permanent marker
- Easy to draw straight lines and dots. Dries fast.
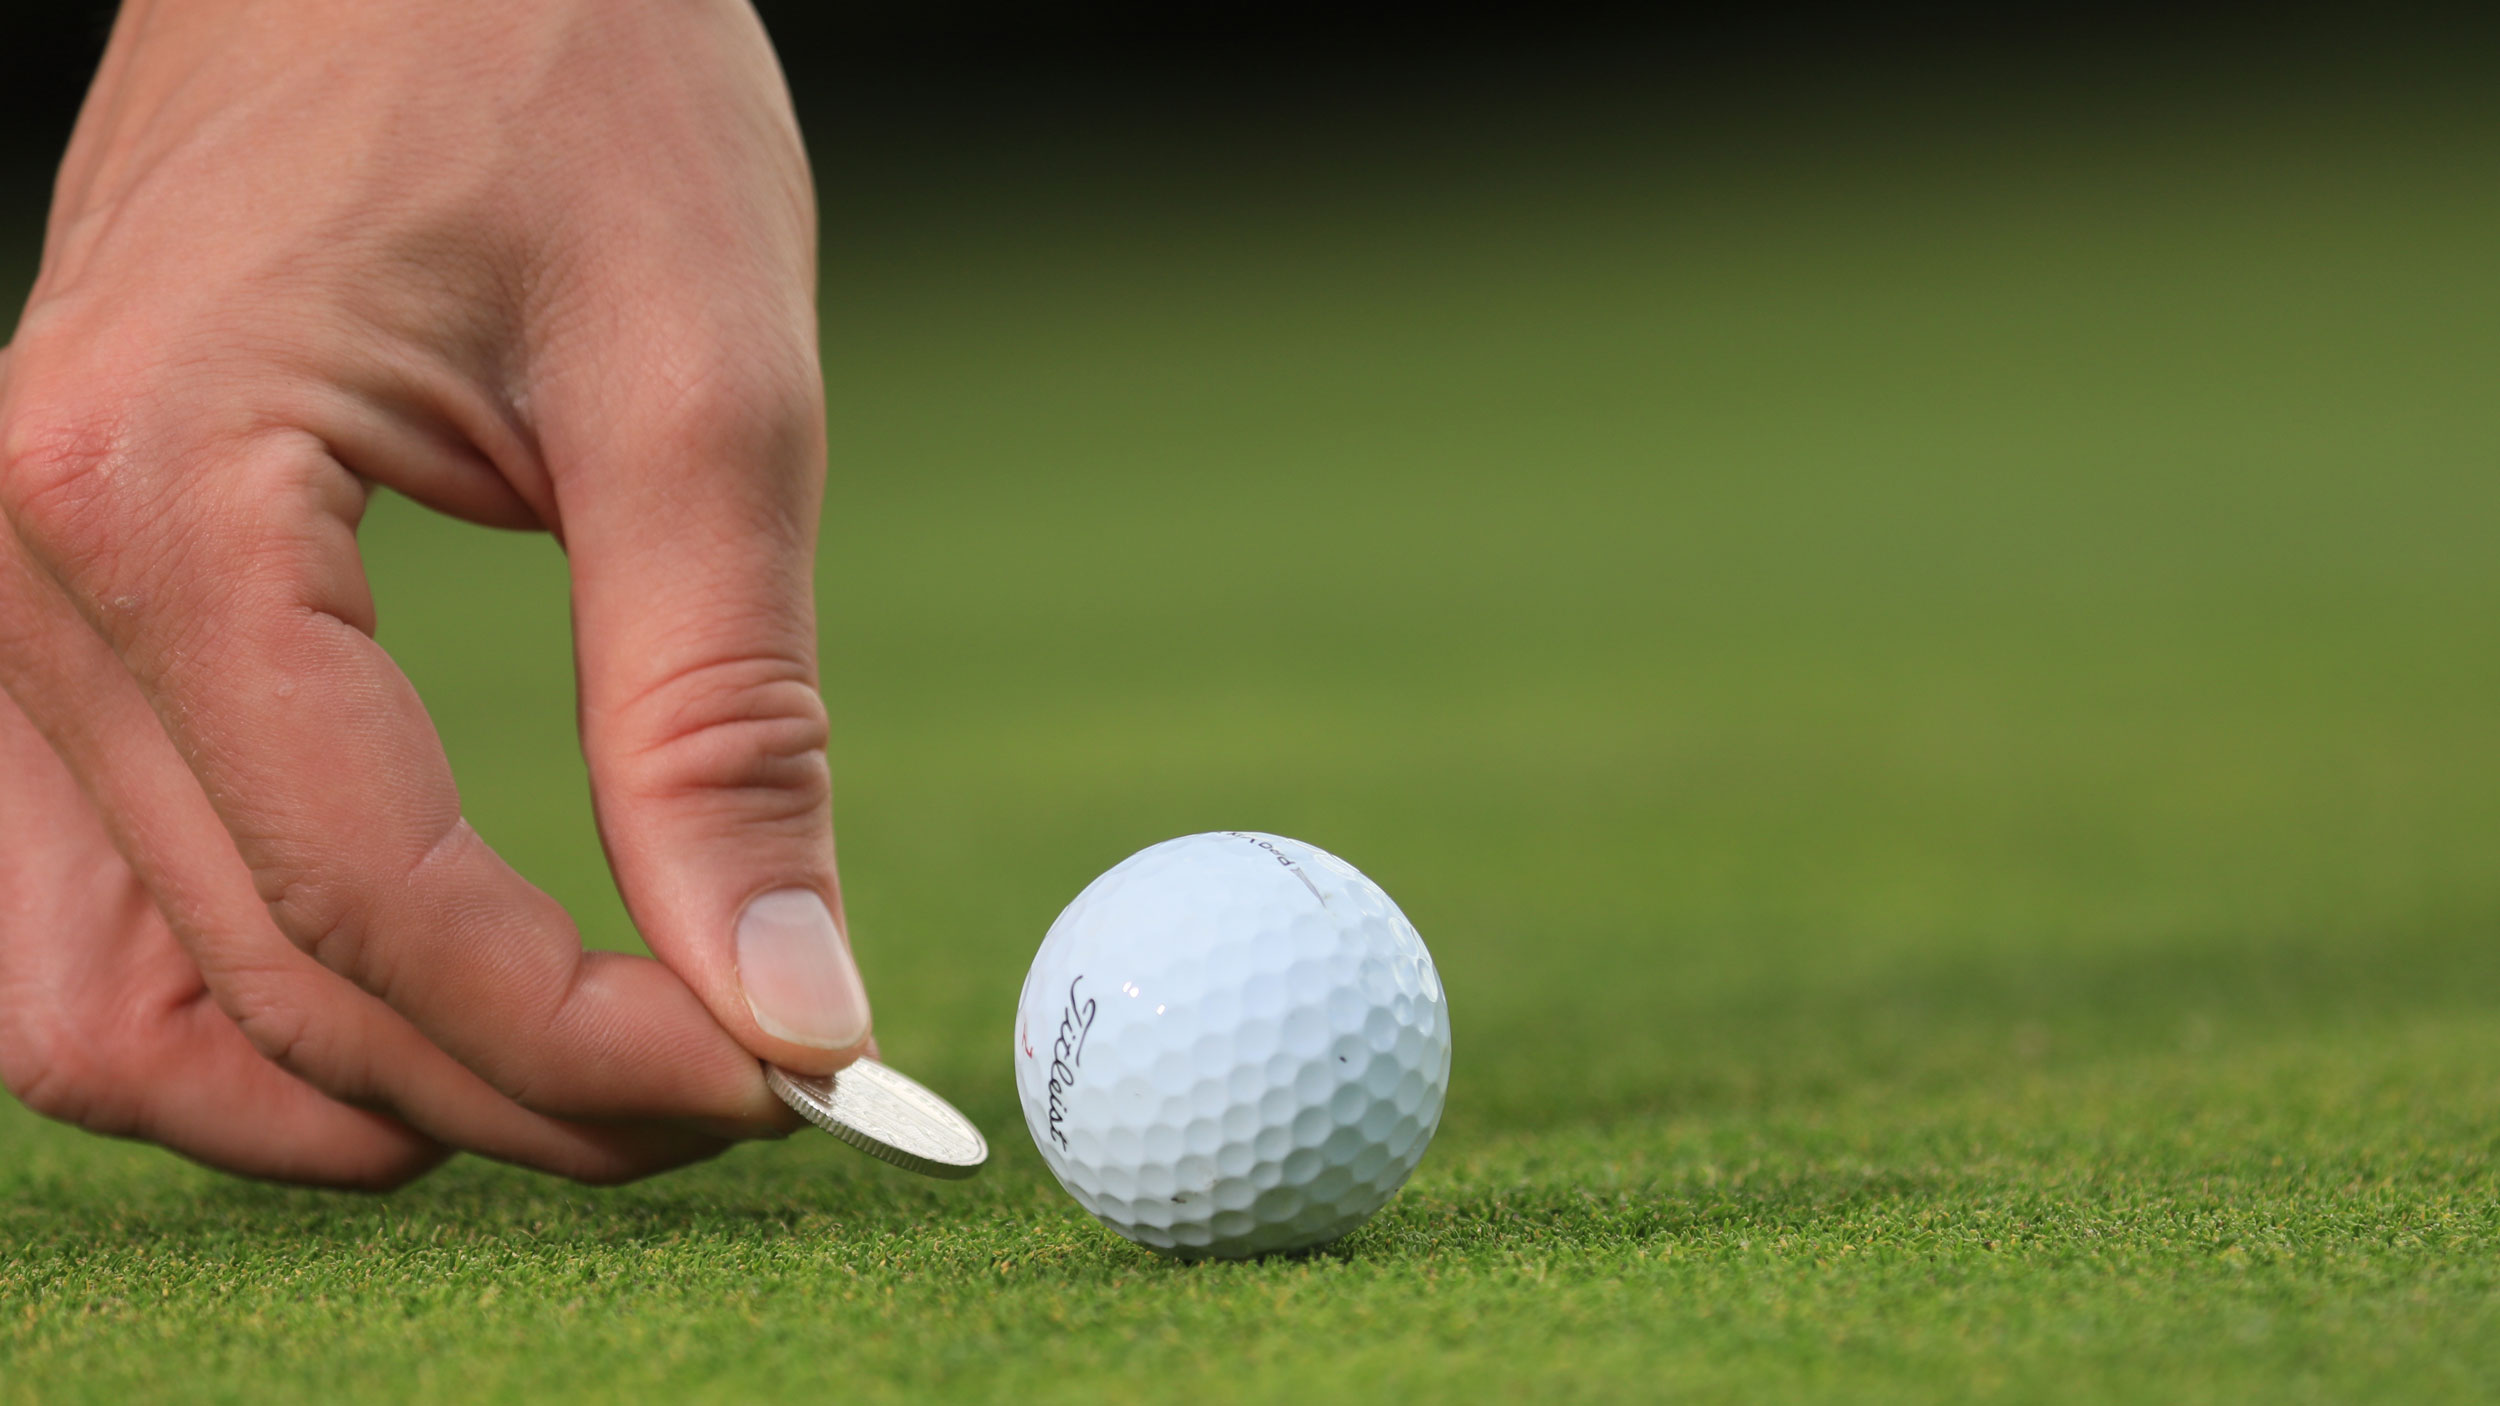
- Ball marker (coin or magnetic)
- Useful to lift and replace ball without smudging your mark.
- Alignment stickers or pre-printed balls
- Good for those who want consistent factory lines.
- Microfiber cloth
- Keeps the ball clean before marking.
- Backup marker
- Replace when ink fades during a round.
Use slow-dry markers for practice, but carry a tournament-legal marker for rounds. Keep your roll of tape or stickers in the bag if you like more complex designs.

How to mark a golf ball for putting — Step-by-step
Follow these clear steps when you want a reliable mark.
- Clean the ball
- Wipe dirt or grass off the ball. A clean surface helps the ink adhere.
- Pick your system
- Choose a single line, two dots, or the “arrow” method. Keep it simple.
- Place the ball on a flat surface
- A tee box, your putter cover, or a book works fine. This steadies your hand.
- Align the mark with your view
- Put the line where you’ll naturally see it when setting up. For most, that’s top to bottom.
- Draw the mark
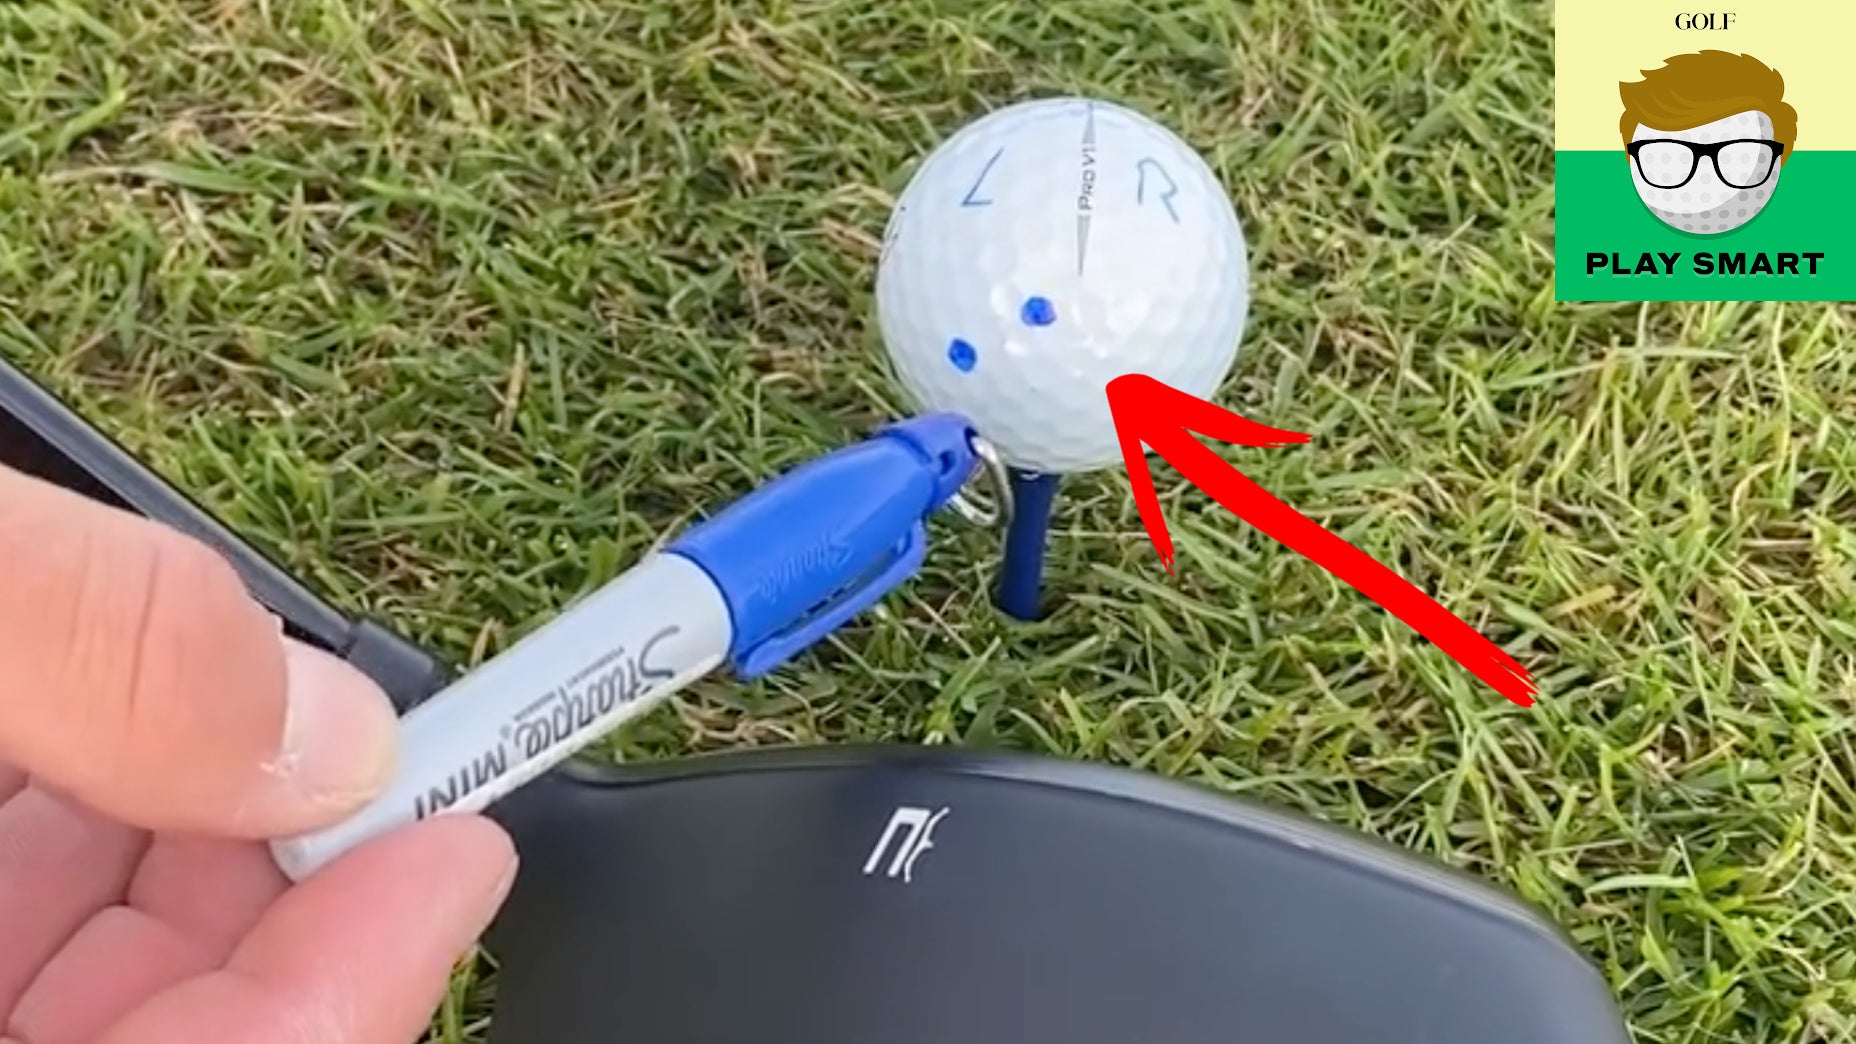
- Use a steady hand. Draw one straight line or two dots spaced for your eye.
- Test on the green
- Roll a few practice putts. Reposition the mark if it hides under your putter or looks off.
If you plan to putt with the mark facing a specific direction, always replace the ball in the same orientation after marking or picking up.

Common marking systems and why they work
Different players prefer different marks. Try each to see what clicks.
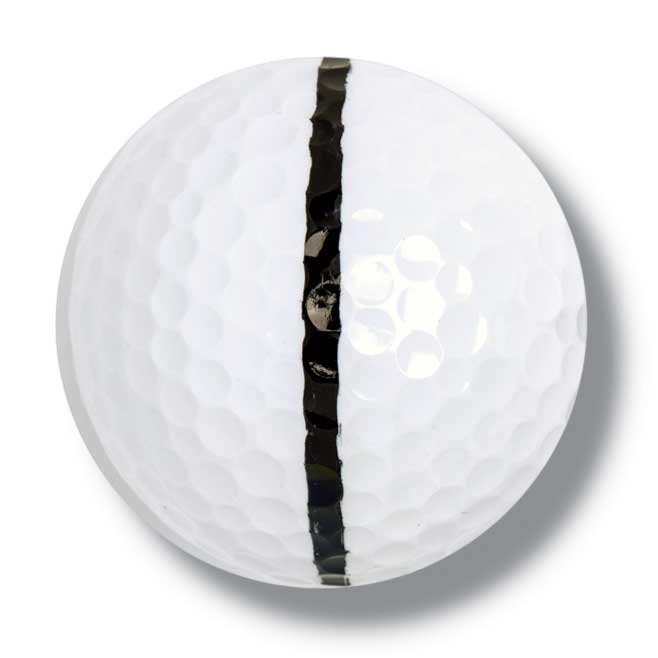
- Single line
- A straight line from back to front. Great for aiming putter face and lining up to the hole.
- Two-dot system
- One dot for the hole side and one dot for the target side. Helps confirm ball rotation and strike.
- Arrow or chevron
- Shows direction visually. Works well for longer lag putts where direction matters more than face angle.
- Center dot
- Marks the sweet spot. Useful for training consistent impact.
The best system matches how you read the green. I favor a single line for short putts and a subtle arrow for longer lag attempts.
How to mark a golf ball for putting: advanced alignment tricks
Once you master basic marks, add small tweaks to improve consistency.
- Match the line to the putter face
- Paint the line so it runs parallel to the putter face groove. It gives instant feedback on face alignment.
- Use the seam or logo
- Align your mark with the ball’s logo for a reference point you can repeat.
- Color contrast
- Use black for bright greens and white or colored markers for darker grass.
- Micro-marks for path
- Tiny dots around the line can show if you pushed or pulled the stroke.
I once cured a subtle push by lining the mark slightly off-center. Seeing how the ball rolled helped me square the face at impact.
Practice drills using a marked ball
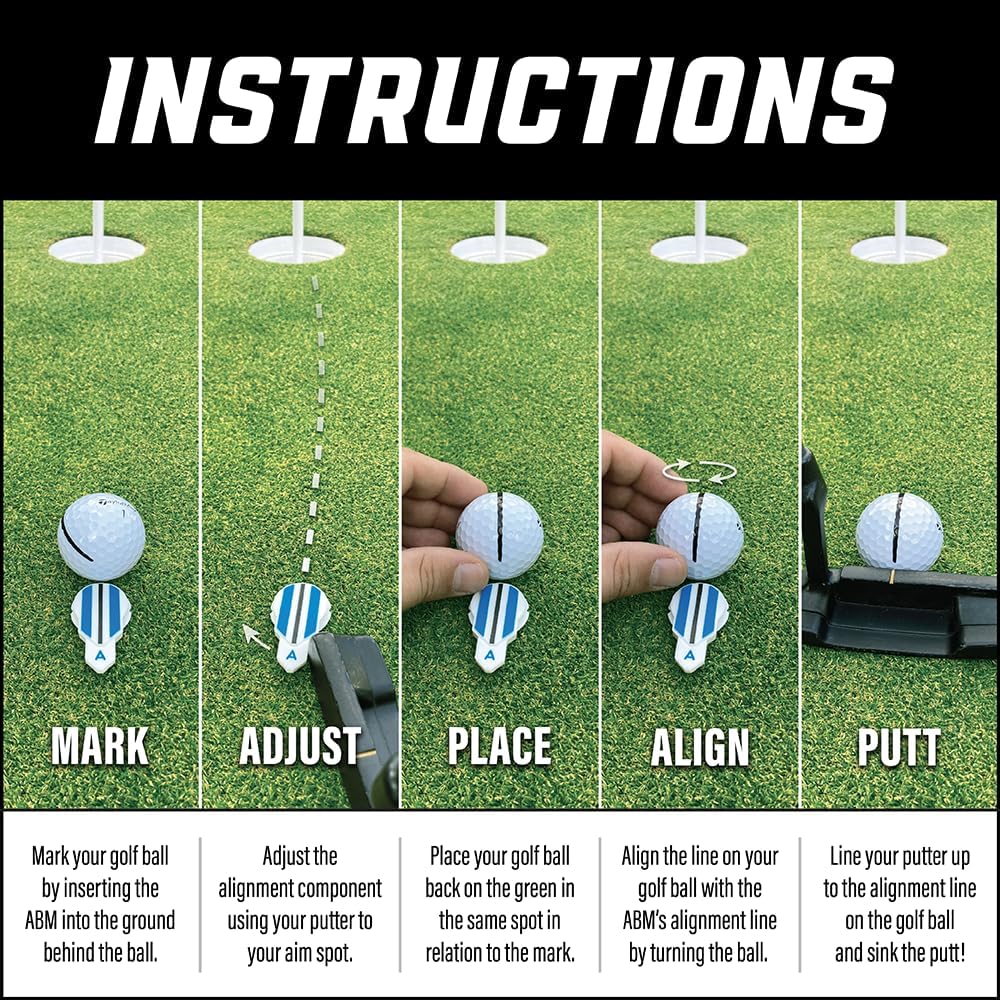
Practice with purpose. These drills convert alignment into reliable strokes.
- Gate drill
- Place tees forming a gate. Put a line on the ball and roll it through without touching tees. Improves face angle control.
- Aim-and-hold drill
- Line up to a point on the cup and hold your set-up for three seconds before stroking. Builds repeatability.
- Short-to-long ladder
- Start from three feet and move back in one-foot increments. Keep the same mark orientation and note where breaks change.
- Mirror feedback
- Use a small mirror to check if your putter face matches the ball’s line at address.
Short sessions with marked balls build muscle memory faster than random practice.

Common mistakes and how to avoid them
Avoid these easy errors that undo the benefit of marking.
- Overcomplicating the mark
- Too many lines or colors create noise. Keep it simple.
- Inconsistent orientation
- Don’t flip the ball when replacing it. That erases the repeatable reference.
- Relying on marks only
- Marks aid aim. They don’t replace green reading or pace control.
- Smudged ink
- Let the ink dry, or use a durable marker to avoid sloppy lines.
I learned not to rotate balls in competition after losing a streak of made putts. The fix was to mark the ball and always replace it the same way.
:max_bytes(150000):strip_icc()/GettyImages-89838245-5b6b5ff5c9e77c0082bae06c.jpg)
Rules and etiquette about marking your ball
Follow course rules and etiquette to avoid penalties and awkward moments.
- Tournament rules
- You may mark and replace your ball on the green. Check local competition rules on designs that could give an advantage.
- Ask before using other players’ tees
- Don’t borrow marking tools without permission.
- Keep marks subtle
- Loud logos or confusing claims can be distracting for partners.
- Replace ball exactly
- When you lift to clean or mark, set the ball back on the same spot and orientation.
I always tell new players to mark during practice rounds and ask a friend to confirm the orientation to build good habits.

PAA-style questions (short answers embedded)
How long should a ball mark last?
A good permanent marker lasts hours on the course and many strokes. Reapply if it fades during play.
Does marking a ball speed up putting practice?
Yes. Marked balls give instant feedback on alignment and stroke, making practice more effective.
Will marking a ball affect roll?
No, small surface marks do not change the physics of roll. Heavy paint or stickers may slightly alter spin, so keep marks thin.
Frequently Asked Questions of how to mark a golf ball for putting
How do I choose the best mark for my putting?
Pick a simple mark that you can easily see at address, like a straight line or single dot. Test it for a few rounds and adjust.
Can I use different marks for different greens?
Yes. Change your mark if the light or grass color makes your usual mark hard to see. Keep the system consistent.
Is it legal to write on a golf ball in competition?
Yes. Writing on a ball is allowed. Avoid marks that might help read the green beyond normal alignment.
Should I mark the ball before every putt?
You only need to mark once per ball unless you change orientation or the ink fades. Many players mark multiple balls ahead for convenience.
Can a mark help fix a stroke issue?
Yes. A clear line helps you see if the putter face is open or closed at impact and can guide small corrections.
Conclusion
Marking your ball is a small habit with big payoffs. A clear, simple mark improves alignment, builds confidence, and speeds learning. Try one system for a week and track your made putts. Use short drills to translate the visual cue into a repeatable stroke. Start with a single line, keep marks legal and subtle, and practice deliberately. If you want better putting, mark your ball, watch the face, and trust the process.
Take action today: mark one ball during your next practice and play three holes focusing only on alignment. Leave a comment below with what marking system helped you most or what you want to test next.