How To Build A Golf Bag Storage Rack: Easy DIY Rack
Build a sturdy, space-saving golf bag rack with simple wood and basic tools.
I have built several racks in my garage and club house. I will show you how to build a golf bag storage rack that is strong, custom, and easy to make. This guide covers planning, materials, step-by-step building, finishing, safety, and costs. Read on for practical tips, common mistakes, and quick wins you can use today.

Materials and Tools Needed
Here is a clear list of what you need to make a stable rack. I use common lumber and tools. Pick materials that match your space and budget. Knowing your supplies makes the build fast and clean.
- 2×4 lumber for frame and slats. Use kiln-dried wood for less warping.
- 1×4 or plywood for dividers and shelf bottoms. Plywood resists twisting.
- Wood screws 2.5 to 3 inches. Use coated screws for damp areas.
- Wood glue for extra strength. Apply at joints before screwing.
- Sandpaper 120 and 220 grit. Smooth edges to protect bag fabric.
- Drill with bits and screwdriver heads. A countersink bit helps.
- Circular saw or miter saw. For clean, repeatable cuts.
- Measuring tape, carpenter square, and pencil. Measure twice, cut once.
- Paint or clear sealer for finish. Choose marine-grade for garages.
- Optional: felt strips, rubber feet, caster wheels, hooks. These add function.
Design Considerations and Planning
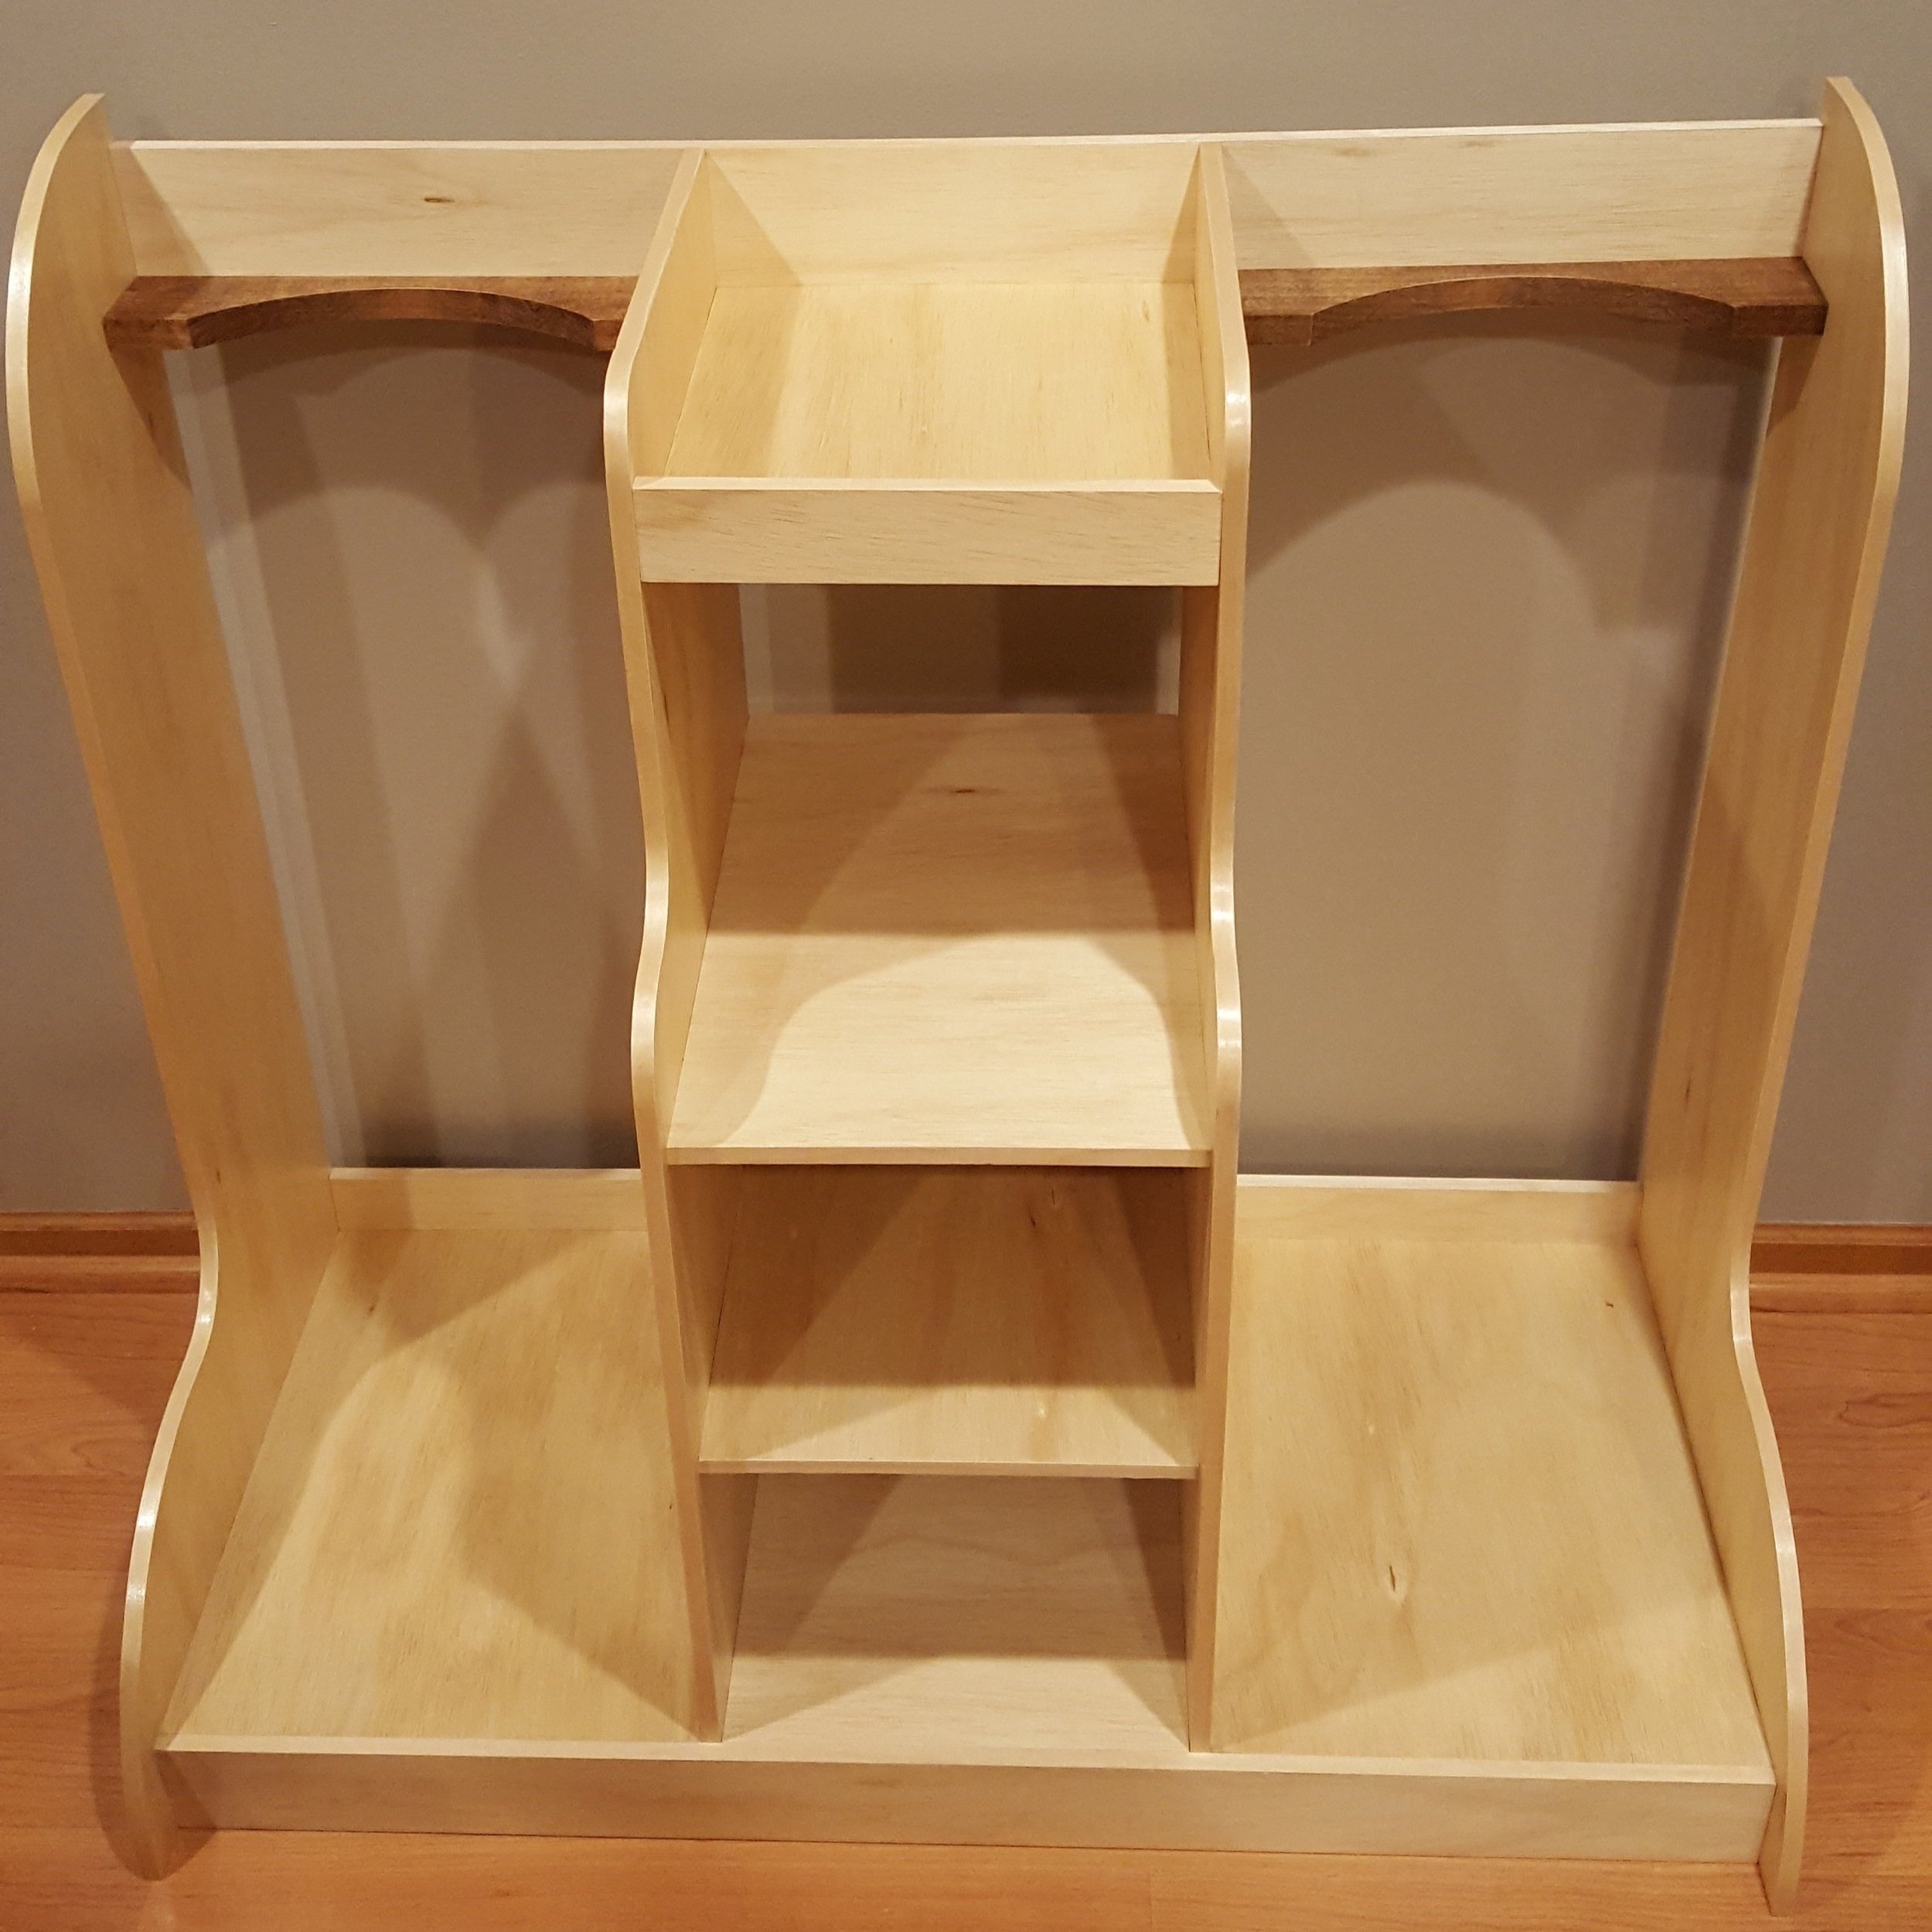
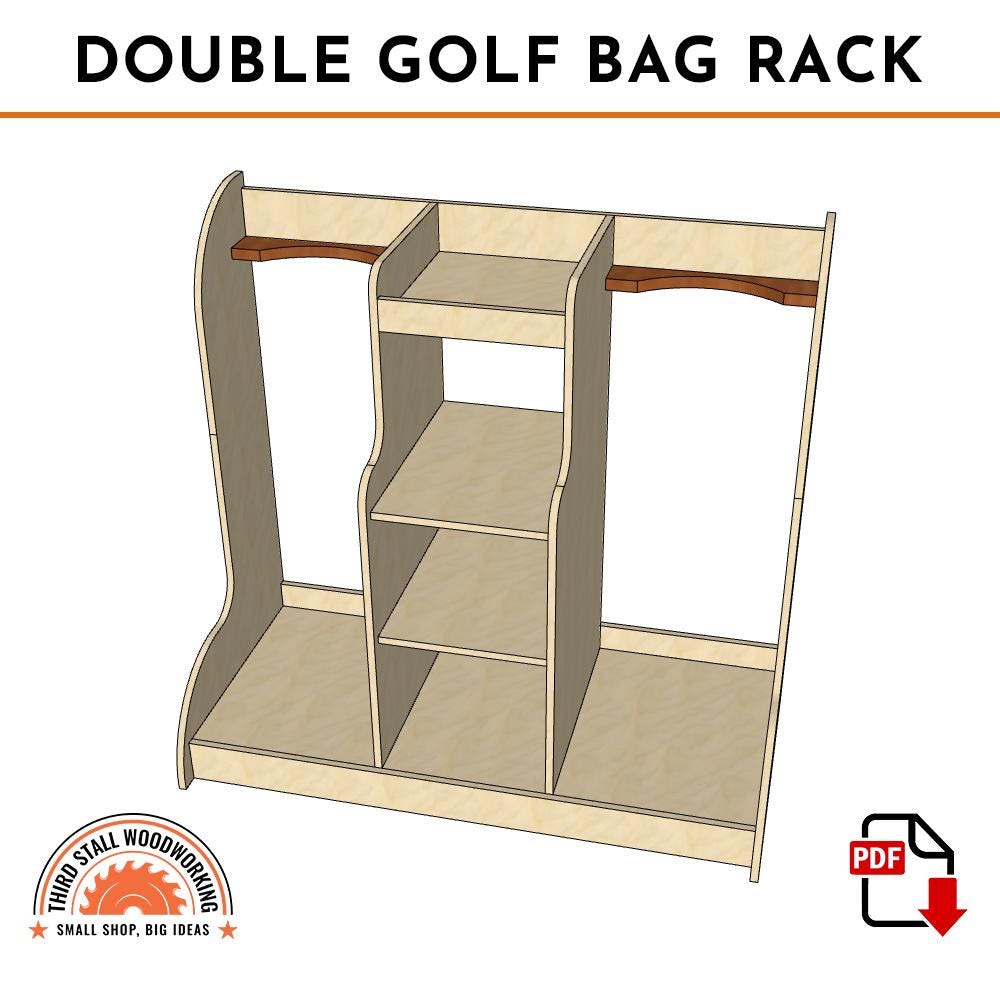
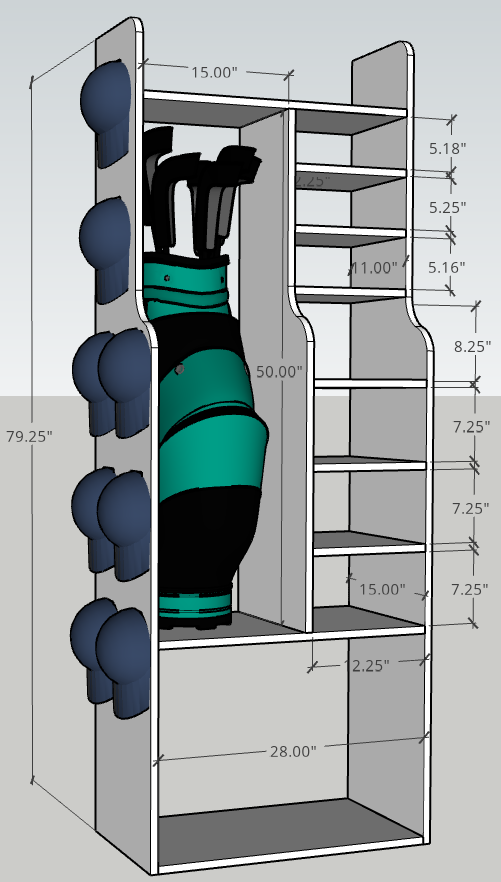
Good design saves time and makes a useful rack. Think of how many bags you need to store. Decide if you want vertical or horizontal storage. Vertical racks take less floor space. Horizontal racks keep clubs flatter.
Key design choices to set before cutting wood:
- Capacity. Plan space for each bag plus room for handles.
- Spacing. Allow about 8–10 inches per bag center to center.
- Height. Standard bag height is 36–40 inches; add headroom.
- Depth. Allow 14–16 inches depth for bag bases and stand legs.
- Wall-mounted or freestanding. Wall racks save floor space. Freestanding can hold more.
- Indoor vs outdoor. Use treated lumber or sealed wood for outdoor use.
I sketched my first rack on graph paper. That saved me from cutting twice. If you are unsure, make a cardboard mockup to test spacing.
Step-by-step Build Guide
Follow this clear plan to complete the rack in a few hours. I include tips from my own builds. Work carefully at each step.
- Measure and cut parts.
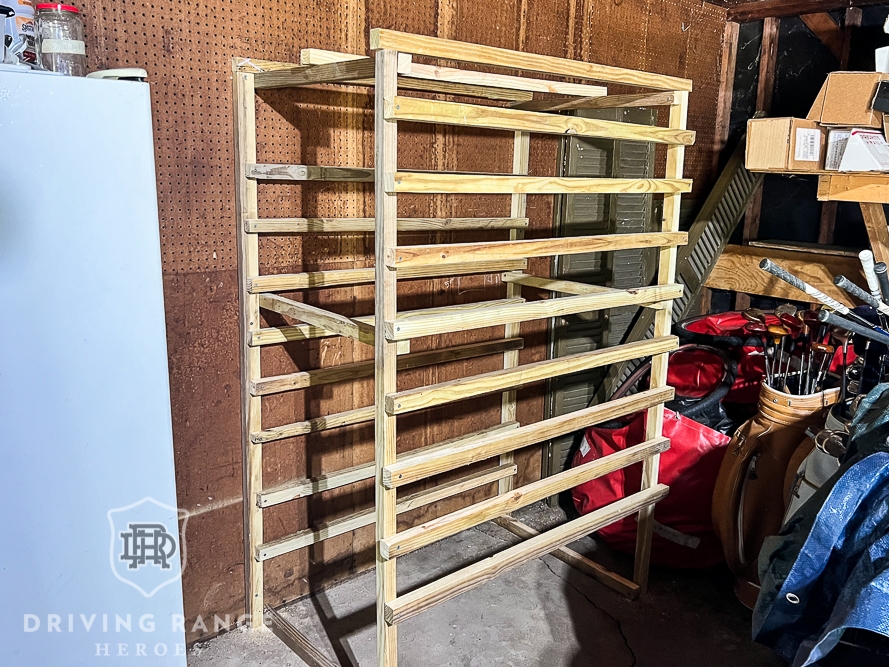
- Cut two side uprights from 2×4 to your chosen height.
- Cut horizontal top and bottom rails to match width.
- Cut dividers or slats to hold bags.
- Assemble the frame.
- Lay uprights flat and attach rails with wood glue and screws.
- Use a square to keep corners 90 degrees.
- Add bag supports.
- Attach slats or dividers spaced 8–10 inches apart.
- For vertical racks, add a lip at the bottom to stop bases from sliding.
- Reinforce the structure.
- Add a center brace if the rack is wide.
- Use corner brackets for extra strength in heavy-use areas.
- Sand and test fit.
- Sand all edges well to avoid snags.
- Place bags to check fit and spacing.
- Finish and protect.
- Stain or paint. Allow full dry time.
- Add rubber feet or wall anchors for stability.
Common mistakes to avoid:
- Rushing measurements. A small error breaks alignment.
- Skipping a center brace on wide racks. This allows sagging.
- Using untreated wood outdoors without sealant.
Finishing Touches and Customization
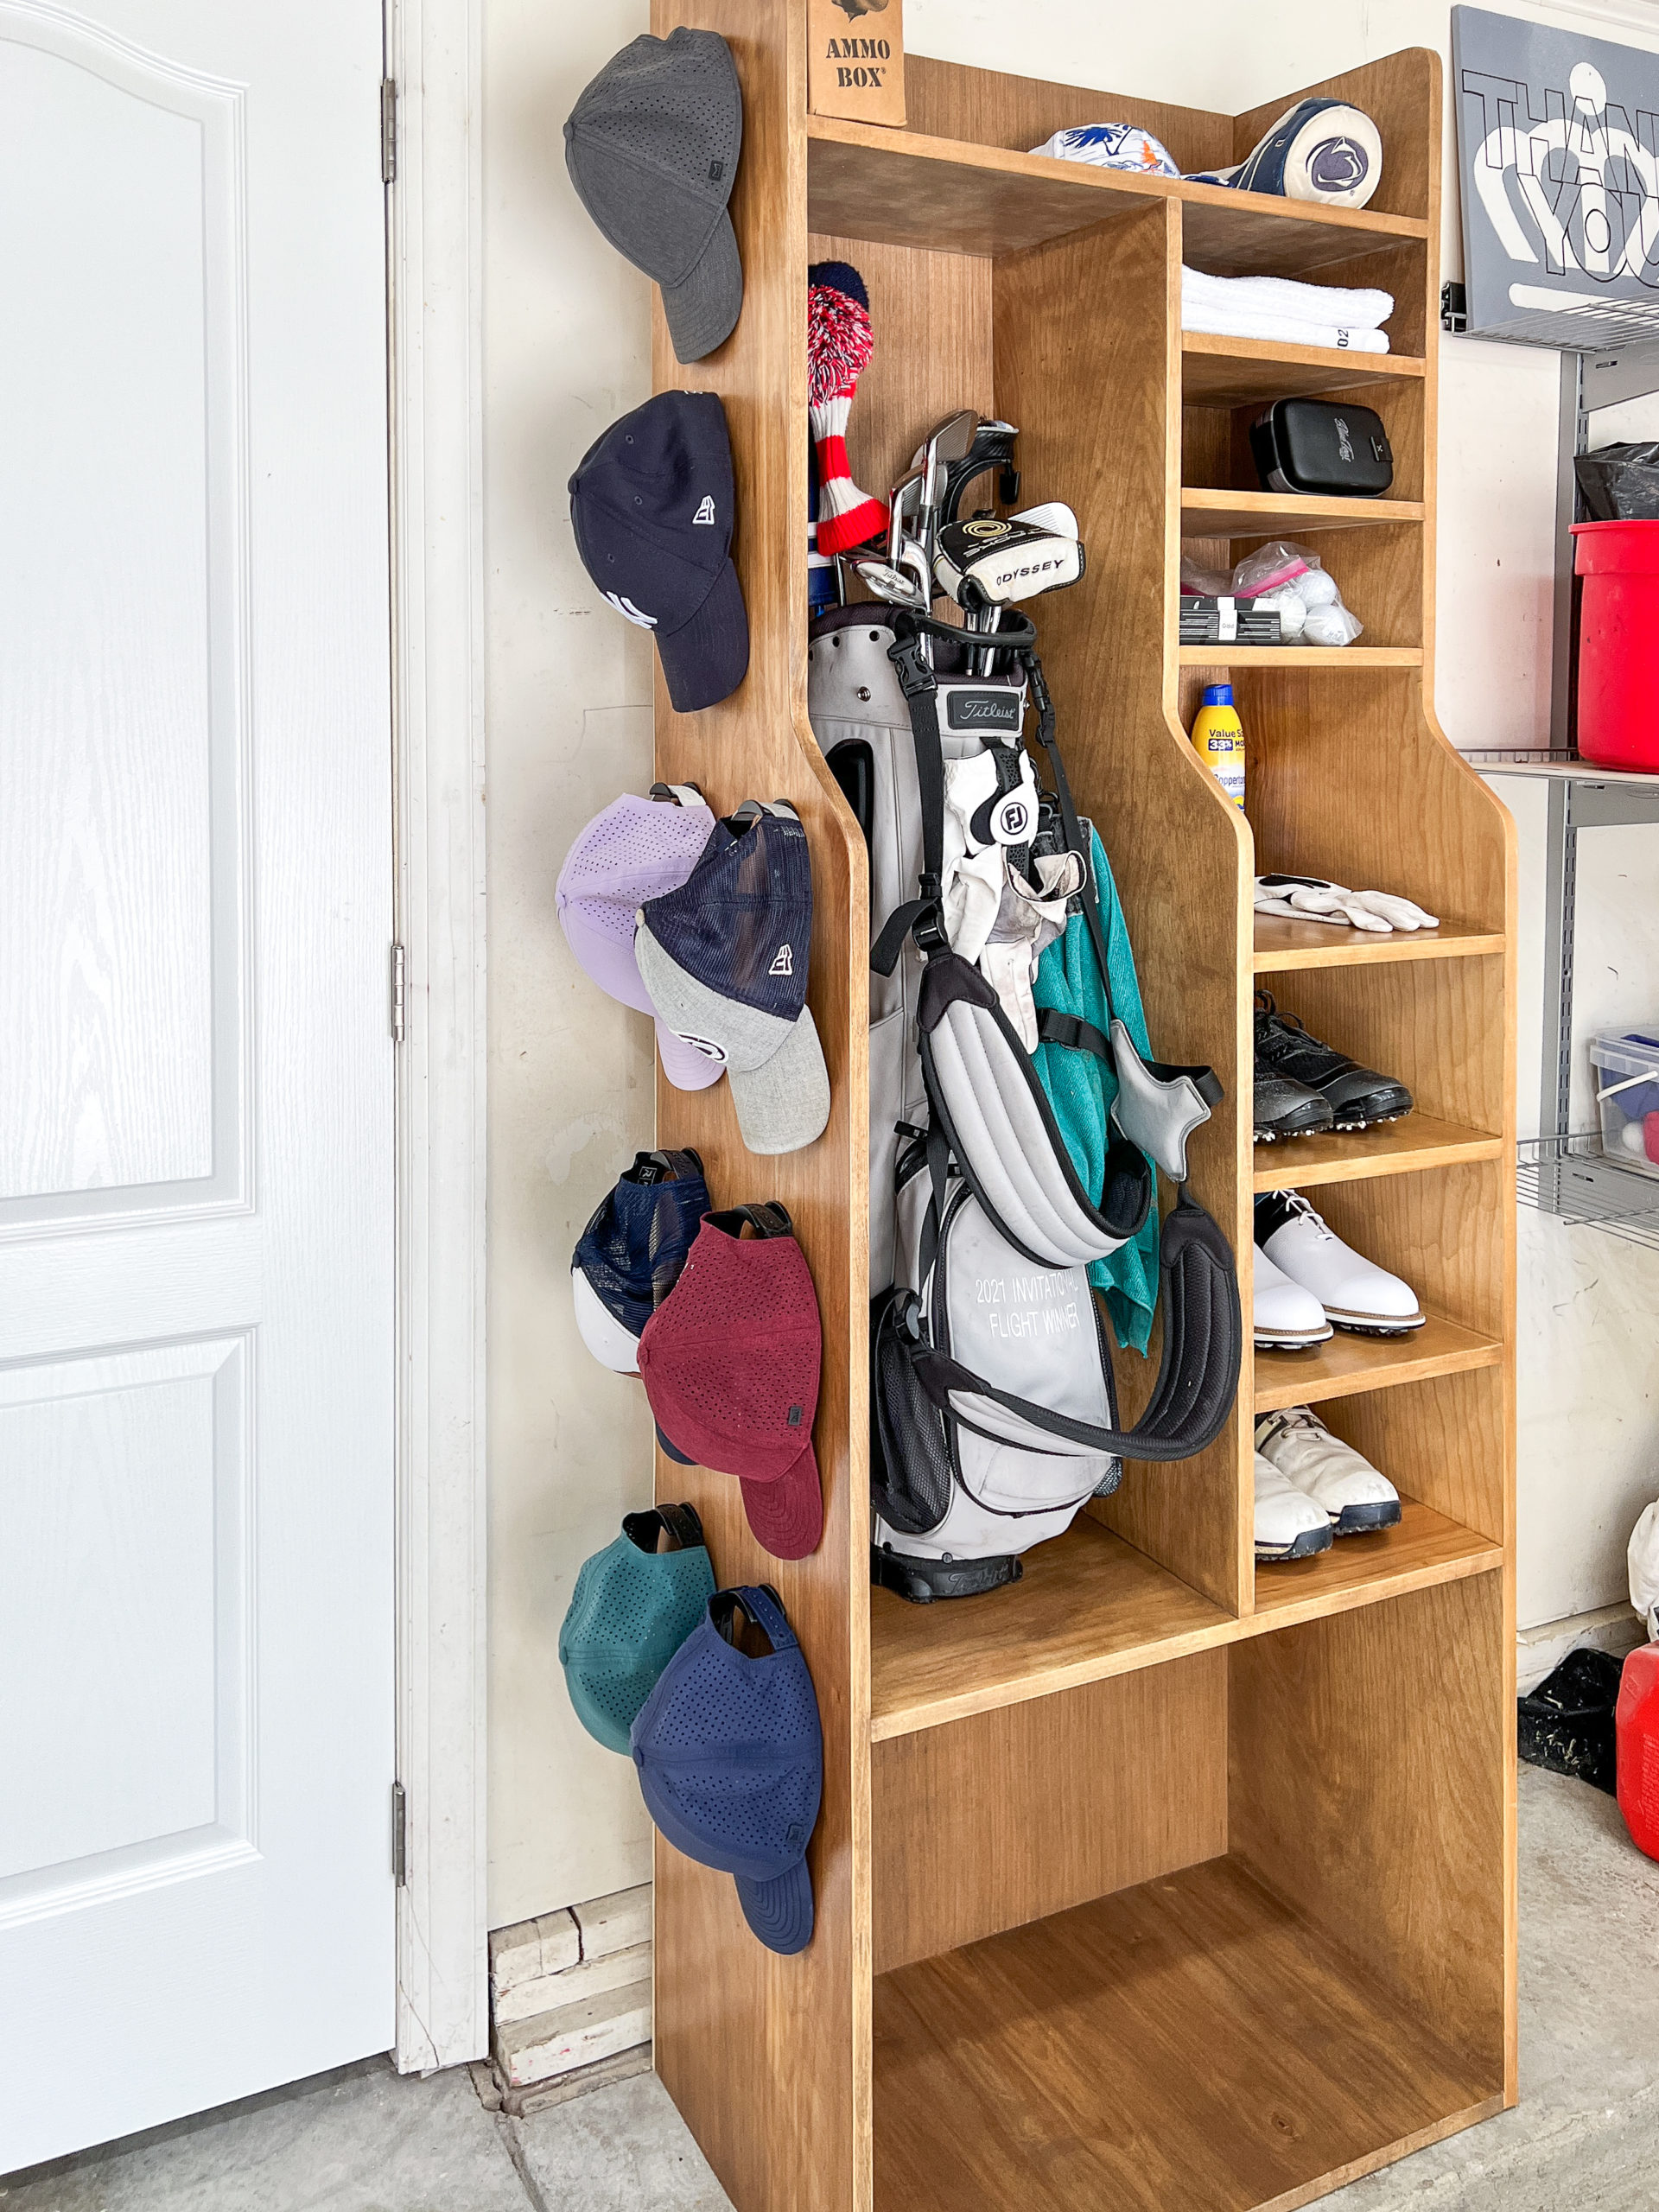
Personalize the rack for style and use. Small additions improve daily life.
- Add felt strips on shelves to protect bag finishes.
- Attach hooks to the sides for towels and gloves.
- Label slots with vinyl numbers to assign bags.
- Fit caster wheels to move the rack easily.
- Install a small shelf on top for balls and tees.
- Use weatherproof paint for outdoor racks.
I once added caster wheels to a heavy rack. It made cleaning under my rack much easier. Small upgrades reduce friction and save time.
Safety, Maintenance, and Longevity
A good rack is safe and lasts years with little care. Regular checks keep it stable and dry.
- Anchor wall racks to studs. Use heavy-duty anchors when studs are not available.
- Check screws and brackets every six months.
- Keep rack away from direct damp and heat sources.
- Reapply sealer every 1–2 years in humid locations.
- Clean dirt from bag bottoms to prevent mold.
If moisture is a concern, add moisture-absorbing packets or a vented location. I lost a rack once to mold because it sat near a leaking door. Fix leaks fast.
Estimated Cost and Time
This section helps you plan budget and schedule. Costs vary by materials and finishes.
- Time estimate: 3–6 hours for a simple rack. Full day for staining and assembly if you finish.
- Budget low-end: $30–$60 using basic 2x4s and plywood.
- Budget mid-range: $80–$200 for nicer wood, paint, and hardware.
- Budget high-end: $200+ for hardwood, custom finish, and wheels.
Buying pre-cut parts or using reclaimed wood changes the cost. I saved money using reclaimed pallet wood, but it required more prep time.
Frequently Asked Questions of how to build a golf bag storage rack
How much space do I need to build a rack?
Plan about 8–10 inches width per bag and 14–16 inches depth. Allow extra room for bag handles and walking space.
What wood is best for a golf bag rack?
Kiln-dried pine or poplar is affordable and stable. Use cedar or treated wood for outdoor racks.
Can I make a wall-mounted rack instead of freestanding?
Yes. Wall-mounted racks save floor space but must be anchored to studs for safety. Use heavy-duty brackets or lag bolts for a secure mount.
How do I protect the rack from moisture and rust?
Seal wood with exterior-grade sealer or marine varnish. Use coated screws and clean bag dirt regularly to avoid rust and mold.
Is a DIY rack strong enough for heavy tour bags?
A well-built DIY rack with center braces is fine for heavy bags. Add extra supports and use thicker lumber for very heavy loads.
Do I need special tools to build the rack?
No special tools are required. A saw, drill, measuring tools, and screws are enough for most builds. Optional tools speed the process but are not necessary.
Conclusion
You now have a clear path to build a reliable and custom golf bag storage rack. Pick a simple design, measure carefully, and use quality fasteners. Start small and add custom features as you learn what works best. Try a basic build this weekend and refine it from there. If this guide helped, share your build photos or leave a question below.