How To Build A Golf Bag Organizer: Easy DIY Guide
Build a custom golf bag organizer with simple plywood, dividers, pockets, and basic tools in a weekend.
I’ve built and tested multiple golf bag organizers, and this guide shows step-by-step how to build a golf bag organizer that fits your clubs, accessories, and travel style. You’ll get clear plans, tool lists, construction steps, customization ideas, maintenance tips, and cost estimates so you can finish a durable organizer that keeps gear tidy and saves time on the course.

Why build a golf bag organizer yourself
Building your own organizer gives control over fit, materials, and pocket layout. Commercial organizers can be bulky or expensive. Making one saves money and lets you tailor sections for woods, irons, putter, balls, gloves, tees, and tech gear. I built my first organizer from scrap plywood and learned how small design choices make retrieval and packing faster. This experience shaped the simple, proven steps below that any handy golfer can follow.
Materials and tools you’ll need
Use quality materials for a long-lasting golf bag organizer. Below is a straightforward list with quick notes on why each item helps.
Materials
- 3/4-inch plywood or 1/2-inch high-density MDF for the base and dividers
- 1/4-inch plywood or hardwood for small shelves and reinforcement
- Foam or felt lining for club protection
- Fabric or nylon pockets for accessories
- Wood glue and waterproof PVA glue for fabric joints
- Screws, wood dowels, or pocket screws for joins
- Edge banding or trim for finished edges
- Spray sealant or polyurethane for protection
- Circular saw or table saw for cutting sheets
- Jigsaw for rounded cuts
- Drill and bits, including countersink
- Clamps for gluing
- Tape measure, square, pencil
- Sandpaper and sanding block
- Staple gun for fabric work
I always keep extra screws and adhesive on hand. Using plywood makes the organizer light yet rigid. If you want a waterproof build, swap plywood for marine-grade plywood and seal all seams.
Design choices and measurements
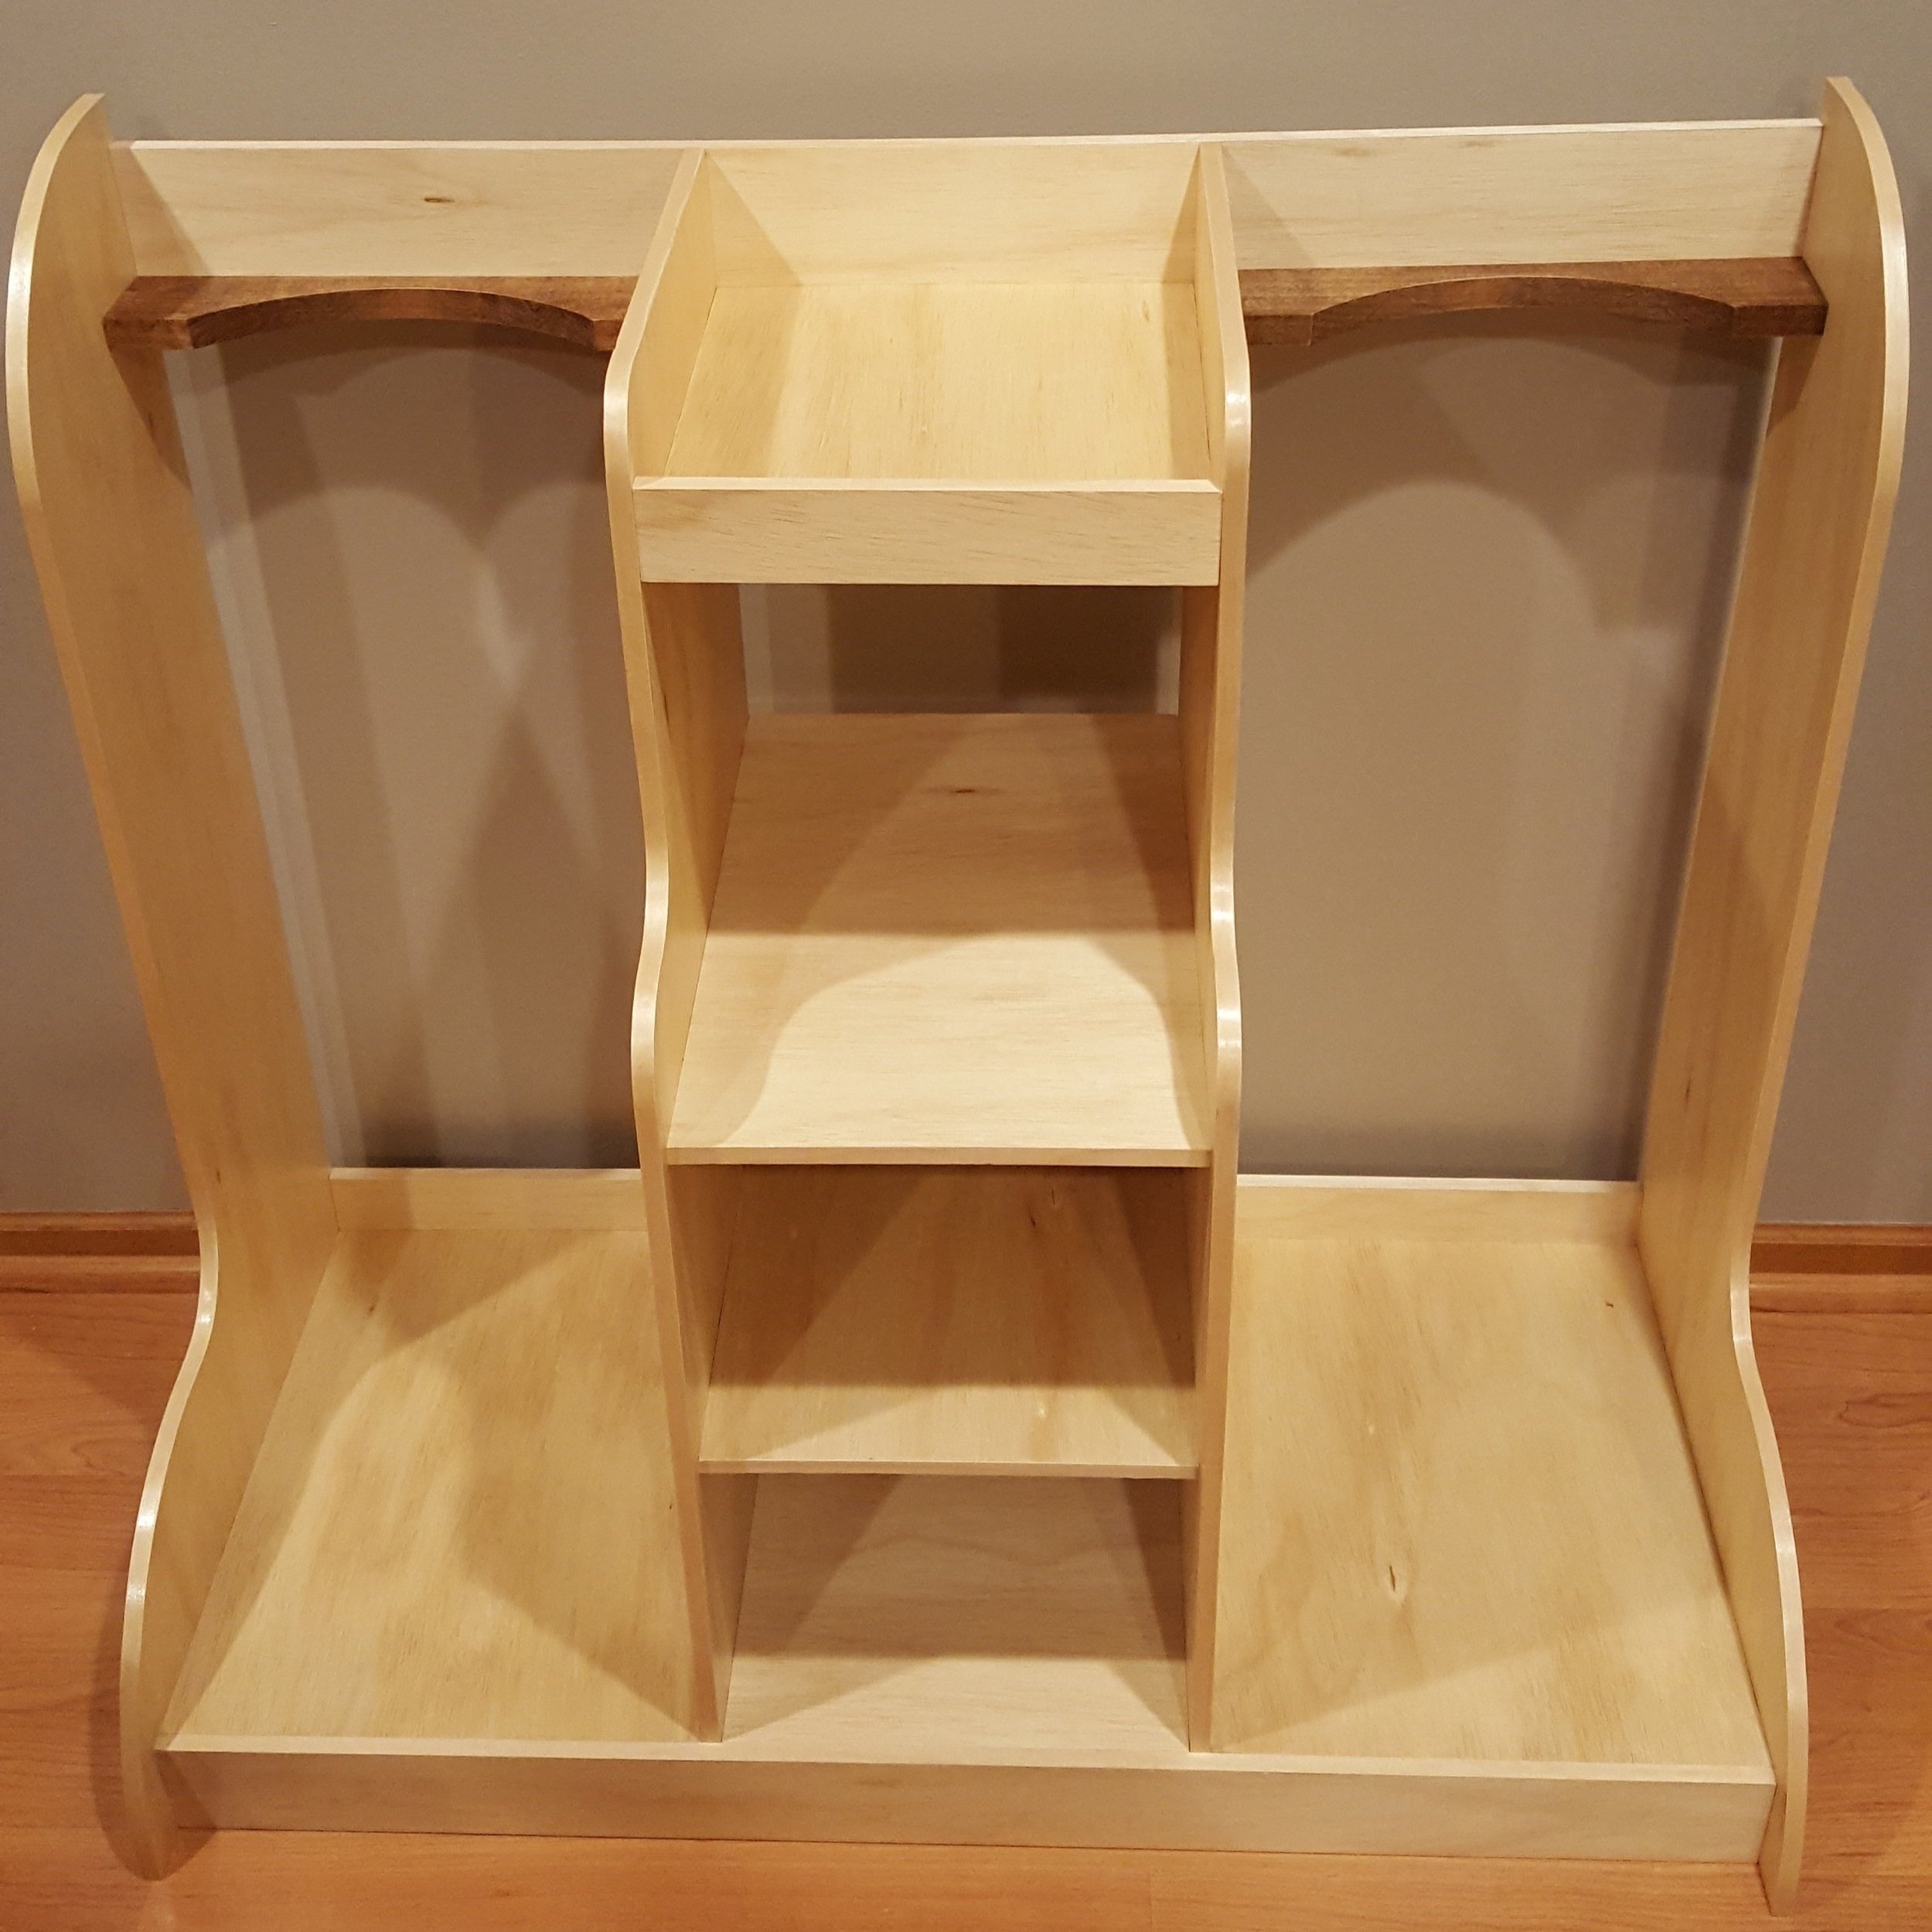
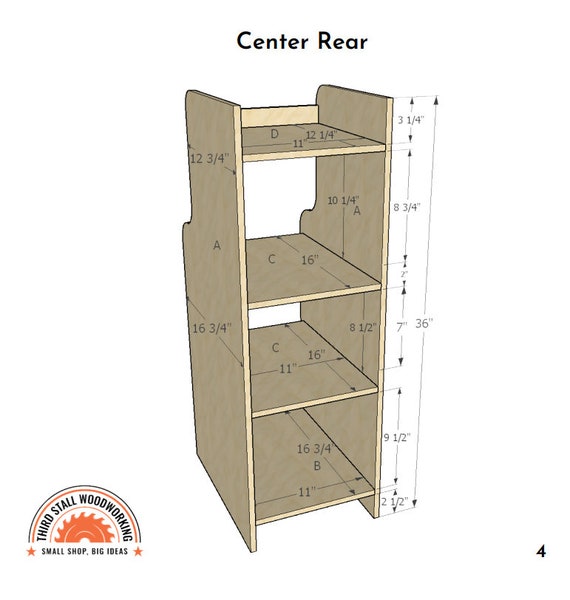
A good plan saves time. Measure your golf bag and typical club lengths before building. Standard considerations:
- Dividers: Decide on 4-way, 5-way, or full-length slots. Full-length slots protect shafts but take space.
- Height: Make internal depth slightly taller than the longest club head. Add a 1-inch buffer.
- Diameter: Make internal sections 3.5 to 4 inches wide for drivers and woods; irons can use 2.5–3 inches.
- Pockets: Add a zippered pocket for valuables and mesh pockets for balls and gloves.
- Portability: If you travel, build a removable insert or hinged sections that collapse.
A simple organizer size to start with:
- Base plate: 12 x 10 inches
- Vertical divider height: match bag height minus top cover (usually 36–40 inches cut in segments)
- Slot widths: 4 inches for driver, 3 inches for irons
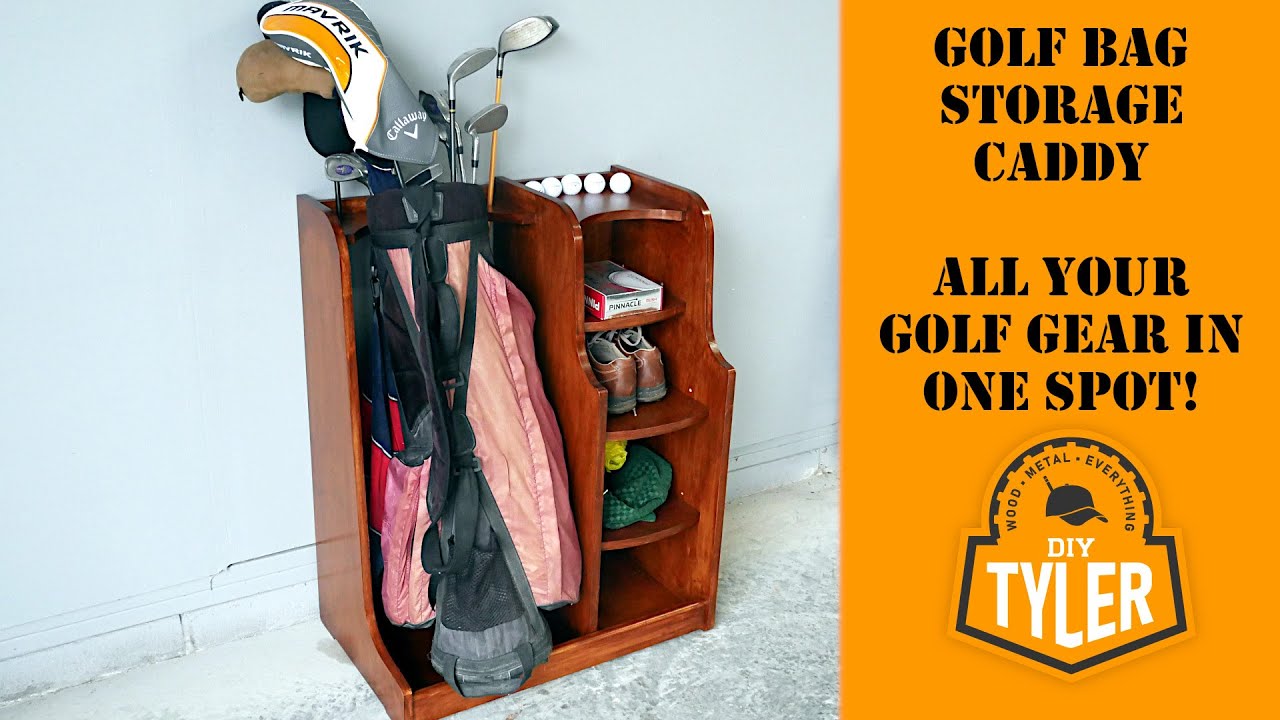
Sketch a basic plan. I usually draw a front and top view on graph paper. This reduces wasted cuts and helps visualize storage flow.
Step-by-step: how to build a golf bag organizer
Follow these numbered steps to build a basic insert-style organizer. This method creates a rigid board with vertical dividers and pockets.
- Cut the base and panels
- Cut a base plate to match the internal floor of your bag or a standard 12 x 10-inch base for common bags.
- Cut vertical panels from 3/4-inch plywood. Typical panels are 36–40 inches tall. You can make two shorter panels for easy transport.
- Mark and route slots
- Layout slot positions on panels using your design. Ensure even spacing and account for club widths.
- Cut slots for interlocking dividers or shelves with a jigsaw or router. Test-fit before gluing.
- Assemble the divider grid
- Dry-fit all pieces. Make small adjustments so slots slide together snugly.
- Use wood glue on joints and clamp until set. Add screws or dowels for reinforcement if desired.
- Add lining and pockets
- Glue foam or felt to each divider to protect shafts. Use spray adhesive for even coverage.
- Attach pockets to the outside of the organizer using staples or sewing. Include a zip pocket for valuables.
- Seal and finish
- Sand all surfaces smooth. Apply edge banding to raw plywood edges for a clean look.
- Apply two coats of polyurethane or water-resistant sealer, letting dry between coats.
- Insert and test
- Slide the organizer into your bag. Test fit clubs and adjust pocket placement.
- Make any final tweaks such as trimming edges or adding wrist strap hooks.
I found that test-fitting clubs before final glue makes a big difference. A snug but not tight fit prevents club damage and keeps retrieval smooth.
Customization ideas and advanced upgrades
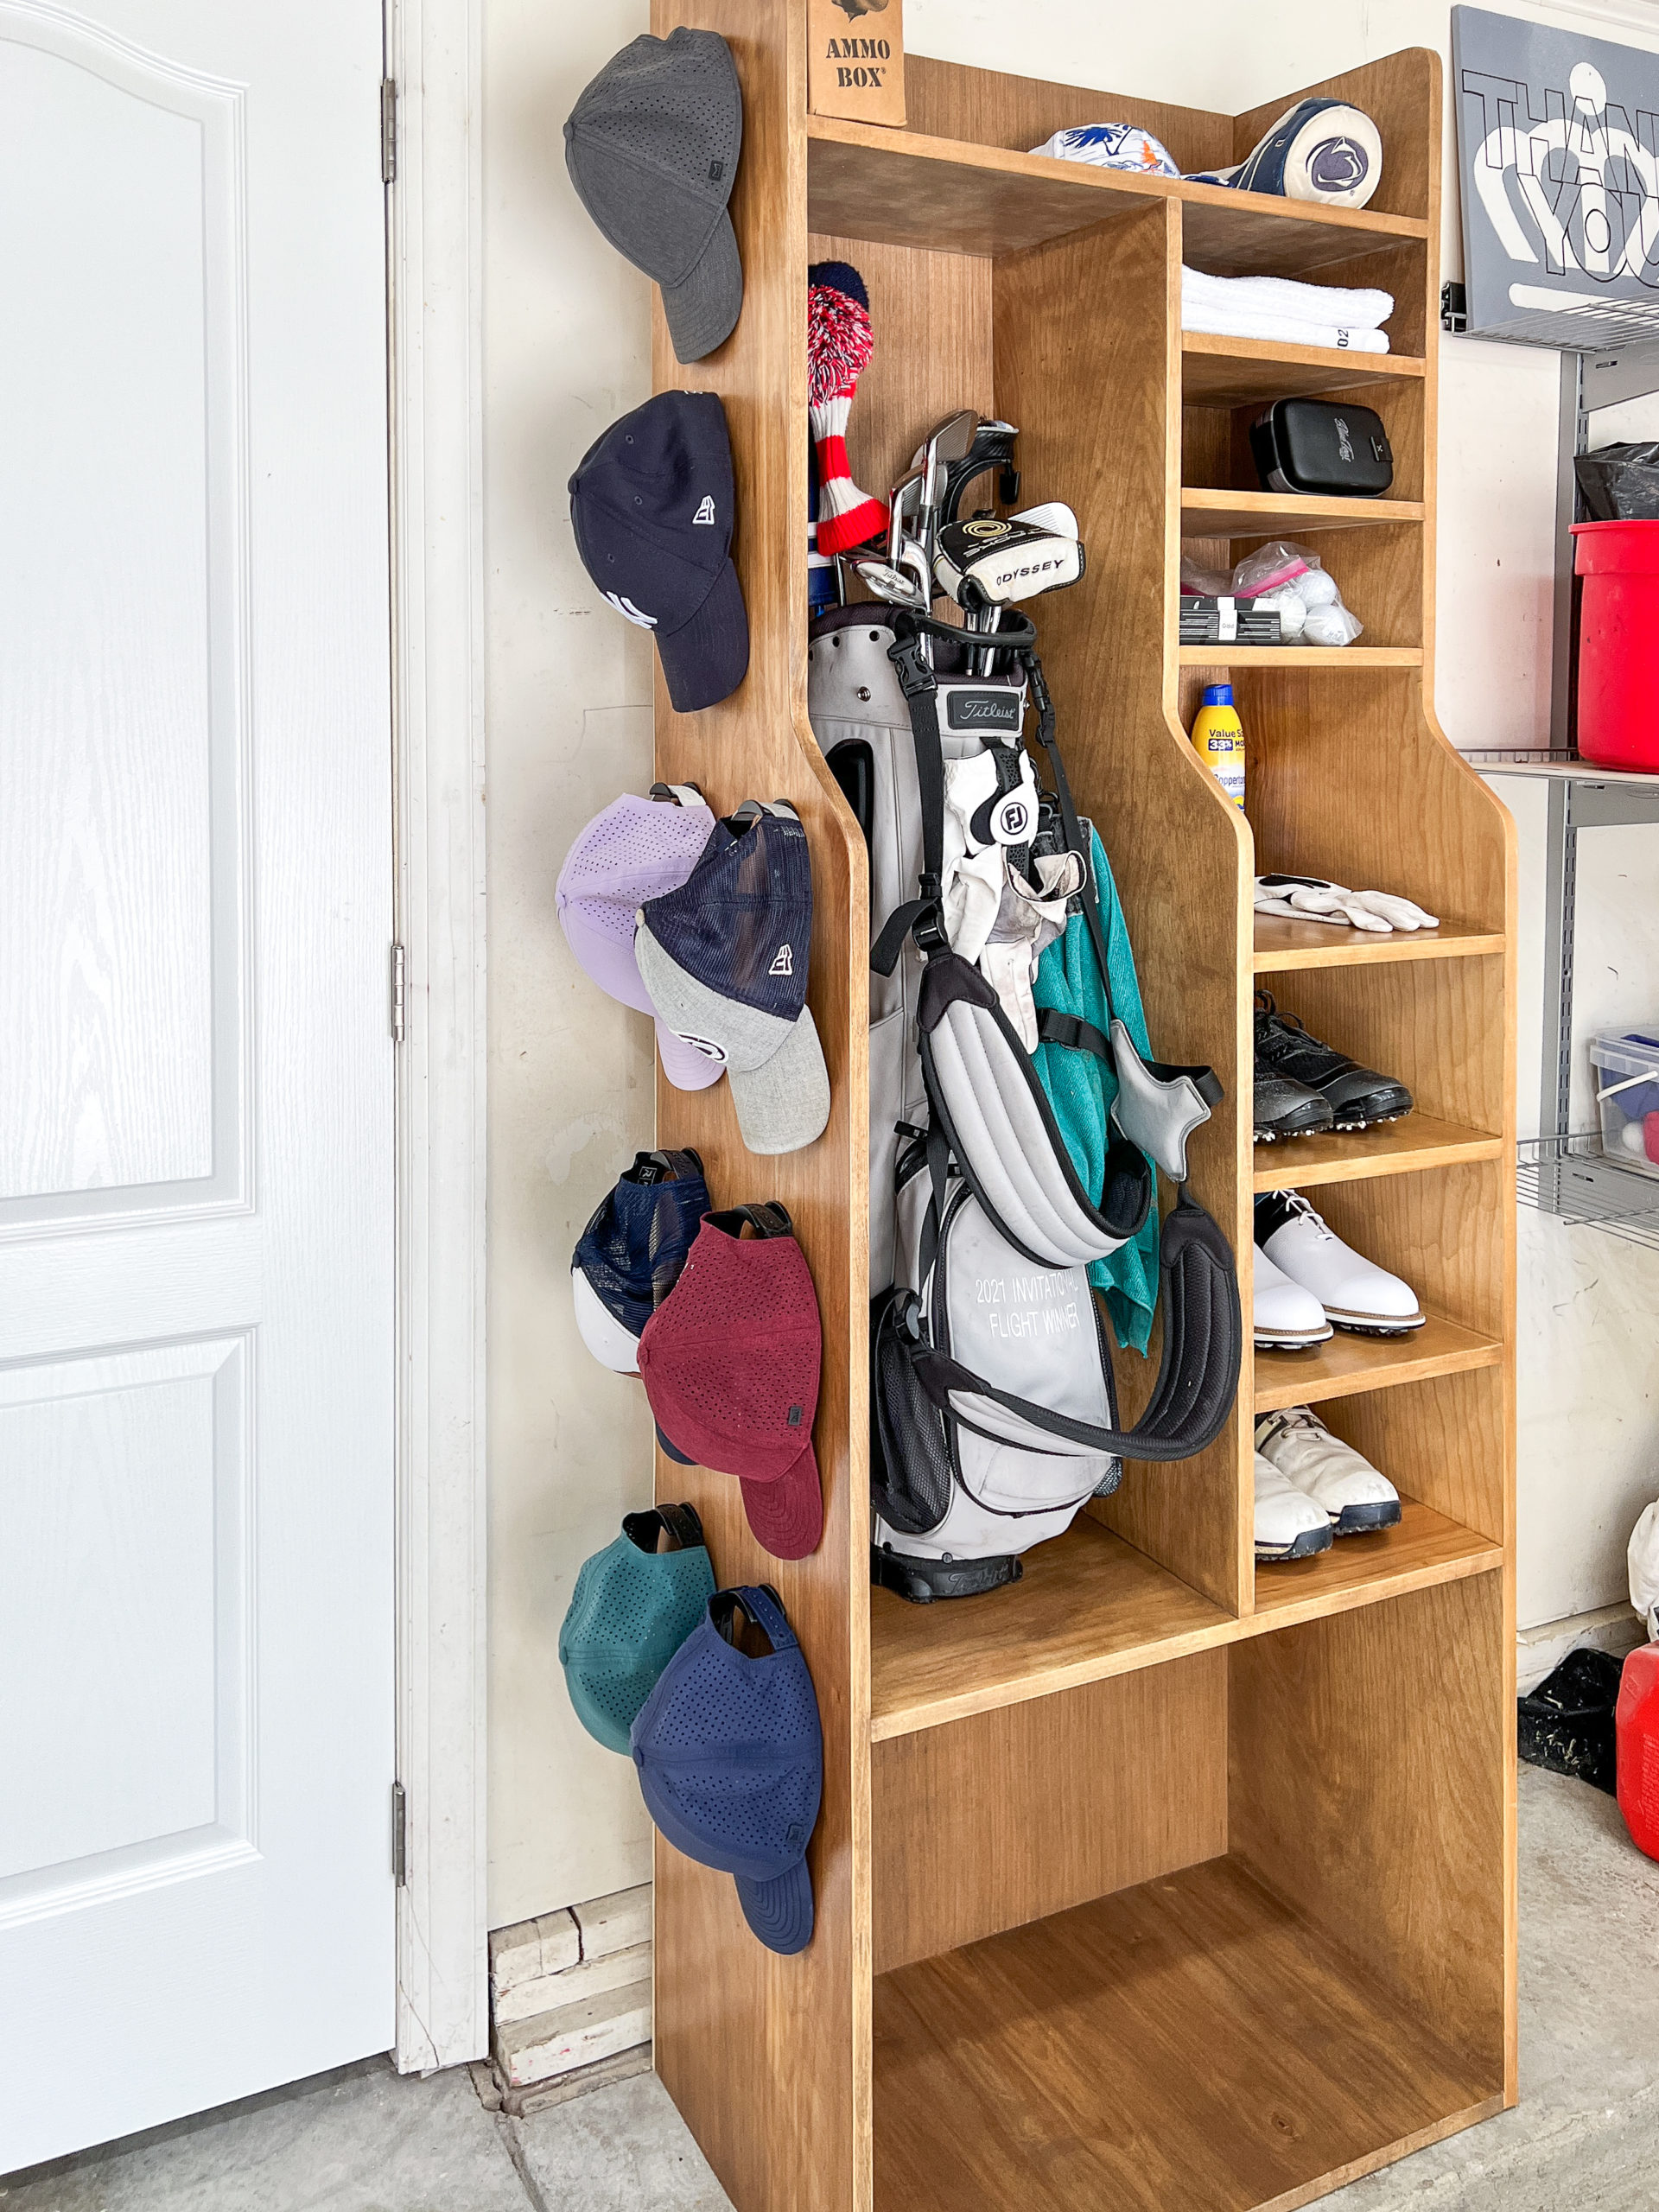
Make the organizer work for your routine. Here are ideas to elevate function and style.
Storage upgrades
- Removeable trays for balls and tees for quick restocking.
- A padded putter tube to secure putter shafts.
- A small battery-powered LED strip for night play.
Material swaps
- Use aluminum inserts for a lightweight, travel-ready organizer.
- Cork lining reduces rattling and provides a premium feel.
Tech and comfort
- Integrated phone pocket with a clear window.
- Velcro straps for securing gloves and rangefinders.
- A quick-release strap or handle for easy lifting.
A word on aesthetics: staining or painting the exterior adds personality. I once built a cedar-faced organizer that smelled great and resisted mildew.

Maintenance, care, and limitations
Proper care keeps the organizer lasting for years. Follow these tips and be aware of limits.
Care tips
- Wipe down fabric pockets after every round.
- Reapply sealant yearly if exposed to damp conditions.
- Check screws and joints every three months.
Limitations
- Wood can swell in very humid climates unless sealed well.
- Heavier materials increase bag weight and can affect carry comfort.
- Custom builds may not fit all bag models; measure carefully.
I recommend marine-grade sealant if you often play in rainy conditions. For frequent flyers, choose lightweight materials to keep luggage weight down.
Cost and time estimate
Building your own organizer is budget-friendly. Typical cost and time ranges:
- Budget build with standard plywood and basic fabric: $30–$70
- Mid-range with better lining and pockets: $80–$150
- Top-end with marine plywood and custom trim: $200+
Time estimate
- Planning and cutting: 2–3 hours
- Assembly and drying time: 4–6 hours (overnight glue cures may extend total time)
- Finishing and testing: 1–2 hours
I built my first organizer for about $45 and finished it in a weekend. The savings versus buying a premium commercial unit were worth the effort.
Frequently Asked Questions of how to build a golf bag organizer
What materials are best for a durable golf bag organizer?
Plywood rated at 3/4 inch provides a good mix of strength and light weight. For humid conditions, choose marine-grade plywood and seal all surfaces to prevent swelling.
How long does it take to build a golf bag organizer?
Most crafters complete a basic organizer in one weekend, about 8–12 hours of active work including cutting, assembly, and finishing. Drying time for glue and sealant may add extra hours.
Can I make a removable organizer for travel bags?
Yes. Build a modular insert with a lightweight base and removable dividers. Use padding and straps so the insert stays secure during travel.
How should I protect club shafts inside the organizer?
Line divider surfaces with foam, felt, or soft fabric to prevent scratching and reduce noise when moving clubs. Adhesive-backed felt works well for tight fits.
Is woodworking experience required to build a golf bag organizer?
Basic woodworking skills are sufficient. With careful measuring, simple cuts, and dry-fitting, beginners can complete a sturdy organizer. Start with a simple plan before trying advanced customizations.
Conclusion
Building a golf bag organizer gives you a tailored, affordable way to keep clubs and gear organized and protected. Follow the materials list, measure carefully, and use the step-by-step assembly to create an organizer that fits your bag and playing style. Start small, test-fit clubs early, and add pockets or tech features as you gain confidence. Try this project over a weekend, and you’ll likely find the custom fit and savings well worth the effort. Share your build, subscribe for more DIY golf gear tips, or leave a comment with questions or photos of your organizer.