How To Draw A Golf Ball: Easy Step-By-Step Guide
Draw a round circle, plot dimples, add a soft highlight, then shade for depth and realism.
I’ve drawn dozens of small objects, including many golf balls, and I’ll walk you through clear, tested steps to make a convincing golf ball drawing. This guide on how to draw a golf ball covers materials, simple shapes, dimple patterns, lighting, common mistakes, and practical tips so you can create a realistic or stylized golf ball with confidence. Read on for step-by-step instructions, examples, and quick practice drills from my own drawing sessions.

Materials and tools you’ll need
Keep your setup simple. A few good tools make it easy to learn how to draw a golf ball well.
- Pencil grades: HB for lines, 2B–4B for shading.
- Eraser: kneaded eraser for soft corrections.
- Paper: smooth drawing paper or sketchbook.
- Blending tool: tortillon or tissue for soft shading.
- Optional: fine liner for crisp outlines, white gel pen for highlights.
Use digital tools if you prefer: a tablet, pressure-sensitive stylus, and a drawing app with layers will let you refine the golf ball quickly. These tools help you control line weight and shading when learning how to draw a golf ball.
Basic shapes and proportions
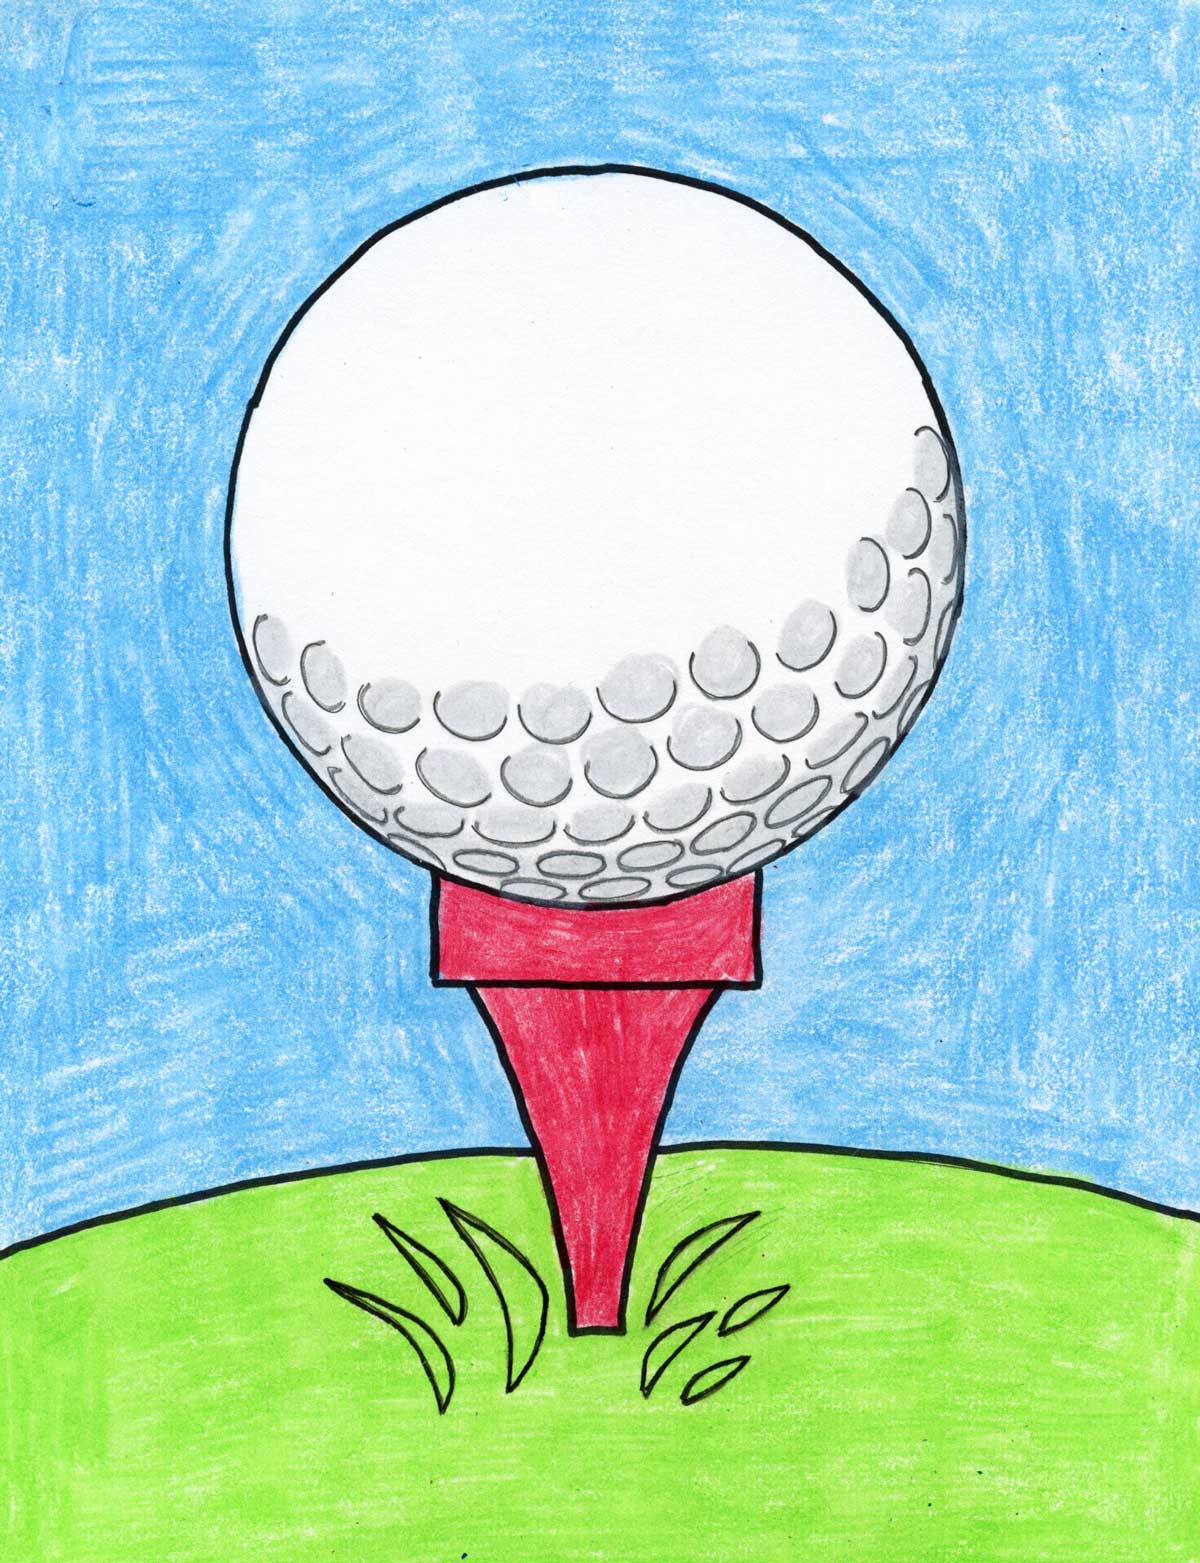
Start simple. A golf ball is mainly a sphere with dimples that follow its curve.
- Begin with a clean circle. Use a compass or trace a round object if you need help.
- Mark the light source. Place a small dot where light will hit the ball to guide highlights and shadows.
- Add a faint centerline or latitude/longitude lines. These help place dimples evenly and show the ball’s rotation.
Keeping proportions right is key when figuring out how to draw a golf ball. A slightly flattened circle or an ellipse can imply perspective for a ball viewed at an angle.

Step-by-step: How to draw a golf ball
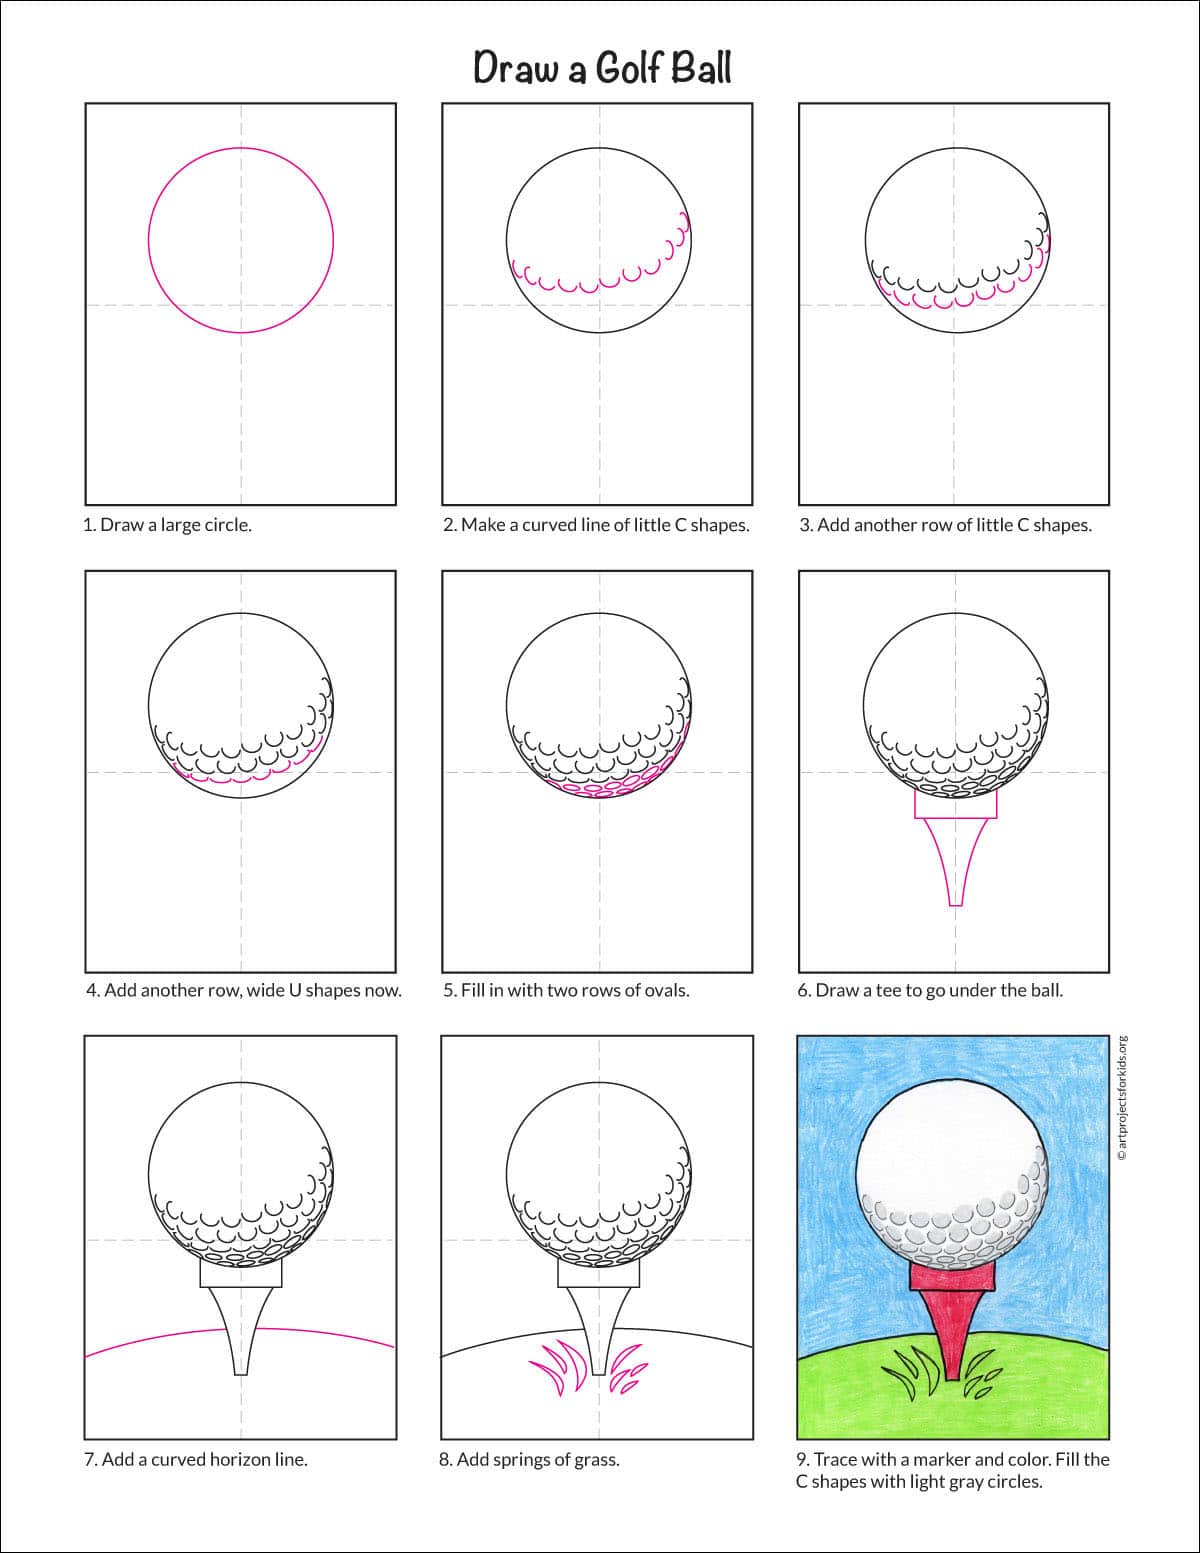
Follow these numbered steps to build a polished golf ball drawing.
-
Draw the circle
- Lightly sketch a circle. Keep lines soft so you can erase and refine easily.
-
Establish the light source and horizon
- Mark where light comes from. This decides where highlights and cast shadows sit.
-
Add guide lines for dimple placement
- Draw a faint equator and a few curved meridians. These help the dimples align naturally.
-
Sketch dimples as small shapes along the guides
- Use short, shallow circles or ovals. Vary size slightly and cluster them more dense near the center of each panel.
-
Outline the main shape with a cleaner line
- Refine the circle edge. Make only slight variations to suggest subtle wear or texture.
-
Shade the midtones and core shadow
- Use a soft 2B pencil to build roundness. Darken the side opposite the light source for mass.
-
Add subtle highlights and reflective edges
- Leave the brightest highlight paper-white or lift graphite with a kneaded eraser. Add secondary light spots as needed.
-
Refine dimples with soft shading
- Darken the inner side of dimples away from the light. Blend lightly so dimples read as depressions rather than dots.
-
Final touches
- Deepen the cast shadow under the ball. Use an eraser to crisp the main highlight. Clean stray marks.
Practice these steps repeatedly. After a few sketches, you’ll know how to draw a golf ball faster and with more realism.
Two quick questions readers often ask:
Q: How long will it take to learn how to draw a golf ball?
A: With focused practice, basic realistic results appear after a few practice sessions; mastery can take weeks.
Q: Do dimples need to be perfect circles when learning how to draw a golf ball?
A: No—slight variation makes the ball look real and helps the dimples catch light correctly.
Adding dimples and texture
Dimples define a golf ball’s look. Place them so they curve with the sphere.
- Pattern basics: Most dimples sit in repeating bands. Use your meridian guides to keep rows regular.
- Shape tips: Draw dimples as soft ovals on edges and circles on faces. Keep them shallow.
- Depth illusion: Shade the inner edge darker and softly blend outward. This makes dimples appear recessed.
When practicing how to draw a golf ball, avoid filling the surface with identical dots. Break patterns slightly and add smaller and larger dimples for realism.
Shading and lighting for a spherical look
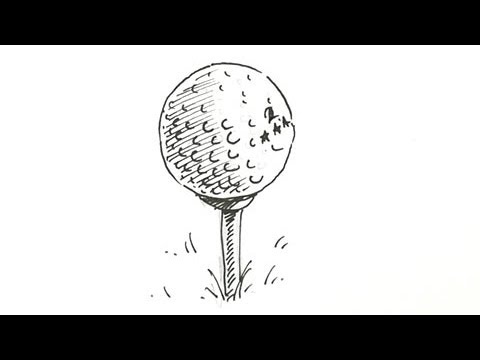
Shading makes the sphere read as three-dimensional and real.
- Core shadow: The darkest part is opposite the light source, near the ball’s edge.
- Midtones: Build gradual transitions using light, repeated strokes.
- Highlight: Leave one bright spot for the main specular highlight. Use an eraser or white ink to lift graphite for crisp highlights.
- Cast shadow: A round, soft shadow on the surface below anchors the ball. Its edge is softer the further from the ball.
Practice different light positions to see how they change how to draw a golf ball. A top light gives a small highlight; side light creates longer gradients and stronger contrast.

Digital drawing tips
If you draw digitally, the process is similar but offers useful shortcuts.
- Use layers: sketch layer, line layer, shading layer, and highlight layer.
- Brushes: soft round for shading; small hard brush for dimple edges and highlights.
- Dodge and Burn: gently push light and dark values, but keep effects subtle.
- Texture overlays: low-opacity noise or paper texture can make the ball look tactile.
Export at high resolution so details like dimples and subtle shading remain sharp when printed or shared. These steps adapt the same principles when learning how to draw a golf ball digitally.
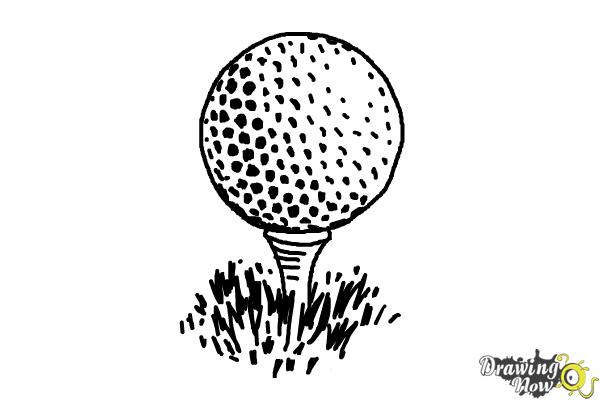
Practice exercises and variations
Short, focused drills speed improvement. Try these daily for quick gains.
- Ten-minute drills: sketch a circle and shade a full ball in ten minutes. Focus on light and shadow.
- Dimple rows: draw only rows of dimples on a curved strip to practice perspective.
- Angle study: draw the ball from top, three-quarter, and side views to master foreshortening.
- Stylized versions: make a cartoon ball with exaggerated dimples and bold outlines to train simplified shapes.
I found that timed drills helped me stop overworking the drawing and taught me to trust simple marks when I learned how to draw a golf ball.

Common mistakes and how to fix them
Knowing common errors saves time and frustration.
-
Mistake: Placing dimples flat rather than on a curve.
Fix: Use curved guide lines or map the surface with latitude lines. -
Mistake: Hard outlines that flatten the sphere.
Fix: Soften the edge and use value shifts to show roundness. -
Mistake: Over-darkening highlights.
Fix: Preserve a bright core highlight and build surrounding midtones gradually. -
Mistake: Uniform dimple size that looks artificial.
Fix: Vary size slightly and cluster dimples naturally.
These fixes came from repeated sketches and seeing which marks read best from a distance. They’re practical when practicing how to draw a golf ball.
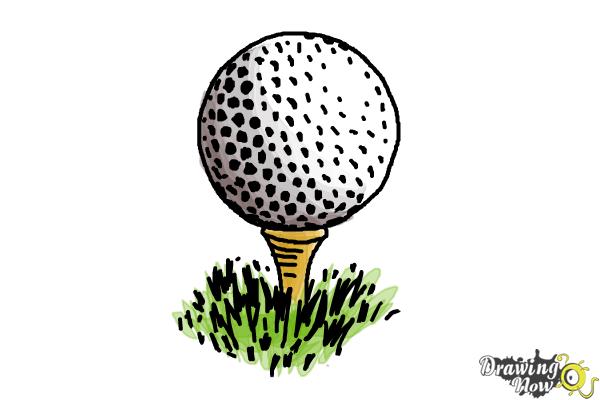
Frequently Asked Questions of how to draw a golf ball
How long does it take to draw a realistic golf ball?
Most people can sketch a believable golf ball in 15–30 minutes with focused practice. Realism improves with repeated study of shading and dimples.
What pencil should I use to shade dimples?
Use a soft pencil like 2B to 4B for shaded dimples and an HB for light contour lines. A kneaded eraser refines highlights.
Should I draw every dimple on the ball?
You don’t need to draw every dimple. Suggest dimples with implied clusters and darker/lighter areas to keep the surface readable.
How do I make the highlight look natural?
Place the highlight opposite the core shadow, keep it small and crisp, and avoid smudging it. A white gel pen or lifting with an eraser works well.
Can I draw a golf ball from photos?
Yes. Use photos to study dimple patterns and light behavior, but avoid copying exactly—practice interpretation to improve drawing skills.
Conclusion
You now have a clear path for how to draw a golf ball: start with simple shapes, add guided dimple patterns, and build volume with thoughtful shading. Try the step-by-step process, run short practice drills, and pay attention to light and texture to improve quickly. Share your sketches, ask for feedback, and keep drawing—each small study brings clearer results. If you enjoyed this guide, try variations, subscribe for more how-to content, or leave a comment with your progress.