36 volt golf cart charger troubleshooting, start by checking the power source and connections. Look for any loose wires or damaged components that may be causing the issue.
It’s important to ensure that the charger is properly connected to the cart’s battery and that there are no obstructions in the charging port. Golf cart chargers are essential for maintaining the battery life and performance of the vehicle. However, issues with the charger can hinder its functionality, leading to frustration for the user.
By understanding common troubleshooting methods, users can easily identify and resolve problems related to their 36 Volt Golf Cart Charger. In this guide, we will explore some of the most common issues that users may encounter and provide practical solutions to resolve them. By following these troubleshooting tips, individuals can ensure that their golf cart charger operates smoothly, allowing them to enjoy uninterrupted performance from their vehicle.
Common Issues With 36 Volt Golf Cart Chargers
Common Issues with 36 Volt Golf Cart Chargers:
36 volt golf cart chargers may encounter several common issues that can affect their performance. Here are a few troubleshooting tips for addressing these problems:
Charger not Turning On:
If the charger is not turning on, the first step is to check the power source and ensure it is properly connected. Additionally, inspect the charger’s fuse to make sure it is not blown or damaged. In some cases, the charger’s power cord may also be at fault and should be examined for any signs of wear or breakage.
Charger not Charging Fully:
When the charger is not charging the golf cart fully, it could indicate issues with the batteries or the charging algorithm. It’s important to verify that the batteries are in good condition and hold a full charge. Furthermore, inspect the charger’s settings to ensure it is programmed correctly for the specific battery type.
Charger Overheating:
Charger overheating can be caused by a defective fan, poor ventilation, or a malfunctioning component. Check for any obstructions around the charger that may be inhibiting airflow. Inspect the fan to ensure it is functioning properly, and clean any dirt or debris that could be affecting its performance.
Troubleshooting Charger Not Turning On
When troubleshooting a 36-volt golf cart charger that is not turning on, start by checking the power source. Ensure that the power outlet is functioning properly and that there are no issues with the supply of electricity. Next, examine the power cord for any signs of damage or wear and tear. Replace the cord if any issues are detected. Finally, inspect the fuse within the charger to see if it has blown out. If the fuse is damaged, replace it with a new one of the same amperage rating. These steps can help identify and resolve issues that may be preventing the charger from turning on and ensure that the golf cart’s battery is properly charged.
Fixing Charger Not Charging Fully
When troubleshooting a 36-volt golf cart charger that is not charging fully, it is important to assess battery connection. Make sure the connections are tight, clean, and free of corrosion. Test the charger output to ensure it is delivering the correct voltage. If the charger output is inadequate, the issue may lie with the charger itself. It is essential to replace any faulty components such as fuses, cables, or the charger itself to ensure effective charging. Regular maintenance and thorough troubleshooting are crucial to keep the golf cart charger functioning optimally.
Understanding Charger Maintenance Routine
Regular maintenance of your 36 volt golf cart charger is crucial for its optimal performance and longevity. It’s important to clean the charger regularly to ensure that there is no dust or debris that could affect its functionality. Routine inspection of the charger’s components is also necessary to identify any potential issues early on. Furthermore, checking the compatibility of the charger with your golf cart’s batteries is essential to avoid any damage to the batteries or the charger itself. By incorporating these maintenance practices into your routine, you can ensure that your 36 volt golf cart charger operates efficiently and effectively.
Importance Of Regular Maintenance
Regular maintenance of your 36 volt golf cart charger is crucial to extend its lifespan and ensure optimal performance. By conducting routine check-ups and cleaning, you can prevent potential issues and maximize the efficiency of your charger. Regularly inspect the power cord, plug, and outlet for any signs of wear or damage. Additionally, clean the charger’s contacts and keep them free from corrosion to maintain a reliable electrical connection. Keeping the charger in a well-ventilated area and protecting it from extreme temperatures can also prolong its operational life. By adhering to a regular maintenance routine, you can minimize the risk of unexpected breakdowns and prolong the longevity of your 36 volt golf cart charger.
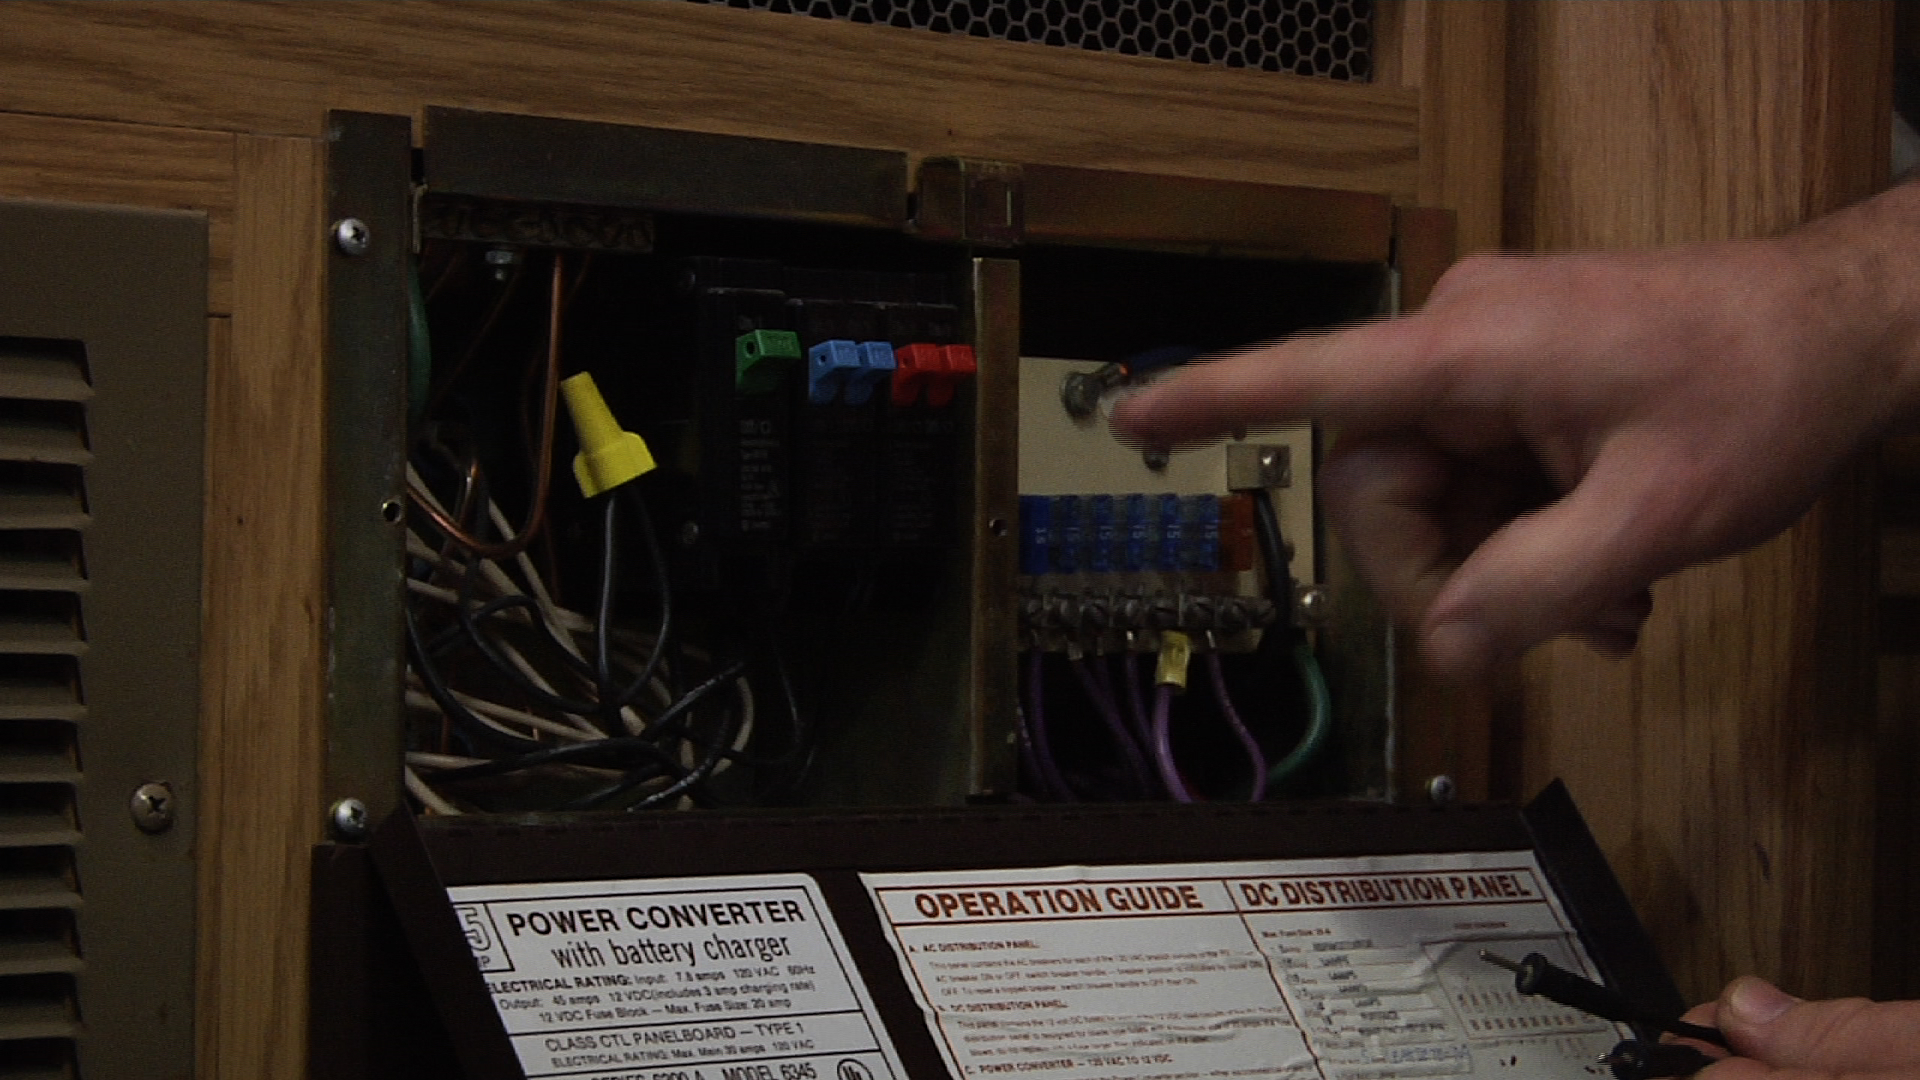
Credit: www.rvrepairclub.com
Cleaning And Inspection
Cleaning External Components: When troubleshooting a 36-volt golf cart charger, start by cleaning the external components. Use a soft cloth to wipe down the charger and ensure there is no dirt or debris on the exterior.
Inspecting Internal Components: Remove the cover of the charger and visually inspect the internal components for any signs of damage or wear. Check for loose connections, burnt areas, or corroded parts. Clean any dust or debris inside the charger and make sure all components are securely in place.
Battery Compatibility Check
Troubleshoot 36-volt golf cart charger issues by starting with a battery compatibility check. Ensure the batteries are suitable for the charger to optimize its performance and prevent potential problems. This critical step can help in diagnosing and resolving charging issues effectively.
When troubleshooting a 36-volt golf cart charger, understanding the battery specifications is crucial. Check the compatibility of the charger with your specific battery model. Ensure that the charger provides the proper charging profile for your batteries, as different battery types require different charging methods. It’s essential to match the voltage and amperage of the charger with the requirements of your batteries to prevent damage and ensure efficient charging. Refer to the battery manufacturer’s specifications and guidelines to confirm that the charger is suitable for your batteries.
Safety Measures For 36 Volt Golf Cart Charger
When handling a 36 volt golf cart charger, it is important to prioritize safety measures. Always remember to wear protective gear such as insulated gloves and eye protection when dealing with high voltage. Additionally, it is crucial to avoid creating short circuits by ensuring that the charger is turned off before making any connections or adjustments. Proper storage recommendations should also be followed to minimize the risk of accidents, including storing the charger in a dry and well-ventilated area away from flammable materials. By adhering to these safety guidelines, you can effectively troubleshoot and maintain your 36 volt golf cart charger while minimizing the potential for hazardous situations.
Handling High Voltage
When troubleshooting a 36 volt golf cart charger, it is essential to prioritize safety and handle high voltage with caution. Using insulated gloves is crucial to protect against electric shock. Additionally, ensure proper grounding to prevent any potential electrical hazards. Always follow the manufacturer’s guidelines for safe handling of high voltage equipment. Before attempting any troubleshooting, take the necessary precautions to avoid accidents and ensure a secure working environment. Regularly inspect and maintain the charger to identify any potential issues that may arise with high voltage components. By adhering to safety protocols and handling high voltage responsibly, effective troubleshooting can be carried out without compromising personal safety.
Avoiding Short Circuits
When troubleshooting a 36 volt golf cart charger, it’s crucial to pay attention to the proper handling of connectors. Ensure that the connectors are clean and free from corrosion to avoid short circuits. Additionally, check for any loose wires that may be causing issues with the charger’s performance. Properly securing all connections and inspecting for any damaged or frayed wires can help prevent potential short circuits, ensuring the efficient operation of the golf cart charger.
Proper Storage Recommendations
When storing your 36 volt golf cart charger, it is important to keep it in a dry, cool area to prevent potential damage. Extreme temperatures should be avoided as they can negatively impact the performance and lifespan of the charger. By maintaining proper storage conditions, you can ensure that your charger remains in optimal working condition for an extended period of time, ultimately saving you both time and money in the long run.
Frequently Asked Questions Of 36 Volt Golf Cart Charger Troubleshooting
What Are The Common Issues With A 36 Volt Golf Cart Charger?
The most common issues with a 36 volt golf cart charger include overheating, damaged cords, and faulty connections. These issues can prevent the charger from functioning properly and may require troubleshooting to identify and resolve the problem.
How Can I Test If My 36 Volt Golf Cart Charger Is Working?
To test if your 36 volt golf cart charger is working, you can use a multimeter to check the output voltage. Simply connect the multimeter to the charger’s output terminals and ensure that the reading matches the charger’s voltage rating.
This can help determine if the charger is functioning correctly.
What Should I Do If My 36 Volt Golf Cart Charger Is Not Charging The Batteries?
If your 36 volt golf cart charger is not charging the batteries, you should first check for any loose connections or damaged cables. Additionally, ensure that the charger is receiving power and that the batteries are in proper working condition.
If the issue persists, it may require professional inspection or repair.
Conclusion
Troubleshooting your 36-volt golf cart charger can be manageable with the right knowledge and tools. By following the steps outlined in this guide, you can easily identify and address common charging issues. Remember to always prioritize safety and consult a professional if needed.
Keeping your charger in top shape ensures smooth and uninterrupted golfing experiences.